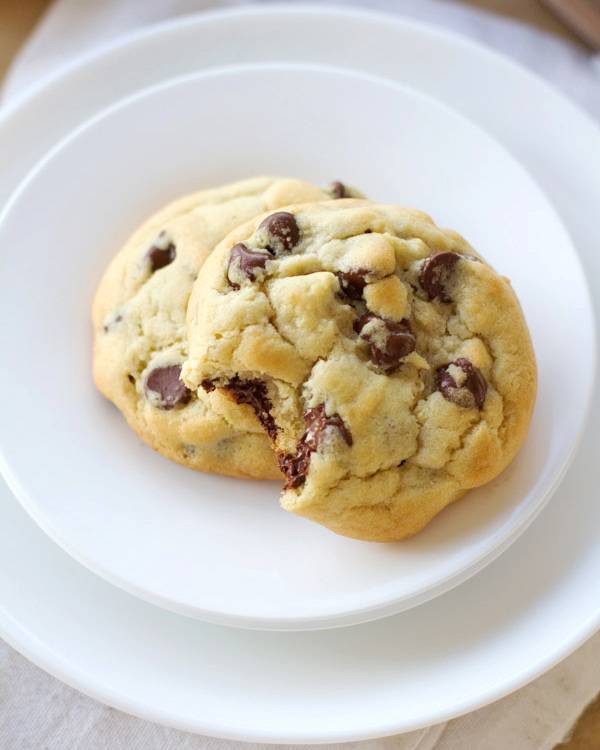
Gosh golly. I love cookies.
And I really love these cookies. These are the PERFECT chocolate chip cookies. I’ve made hundreds of thousands of millions of cookies in my 26 years of life, and that is a fact. Theeeeese are probably my all-time favorite.
Okay, that’s hard to commit to. Because what about these? My other all-time favorite, the peanut butter chocolate chip oatmeal cookie?
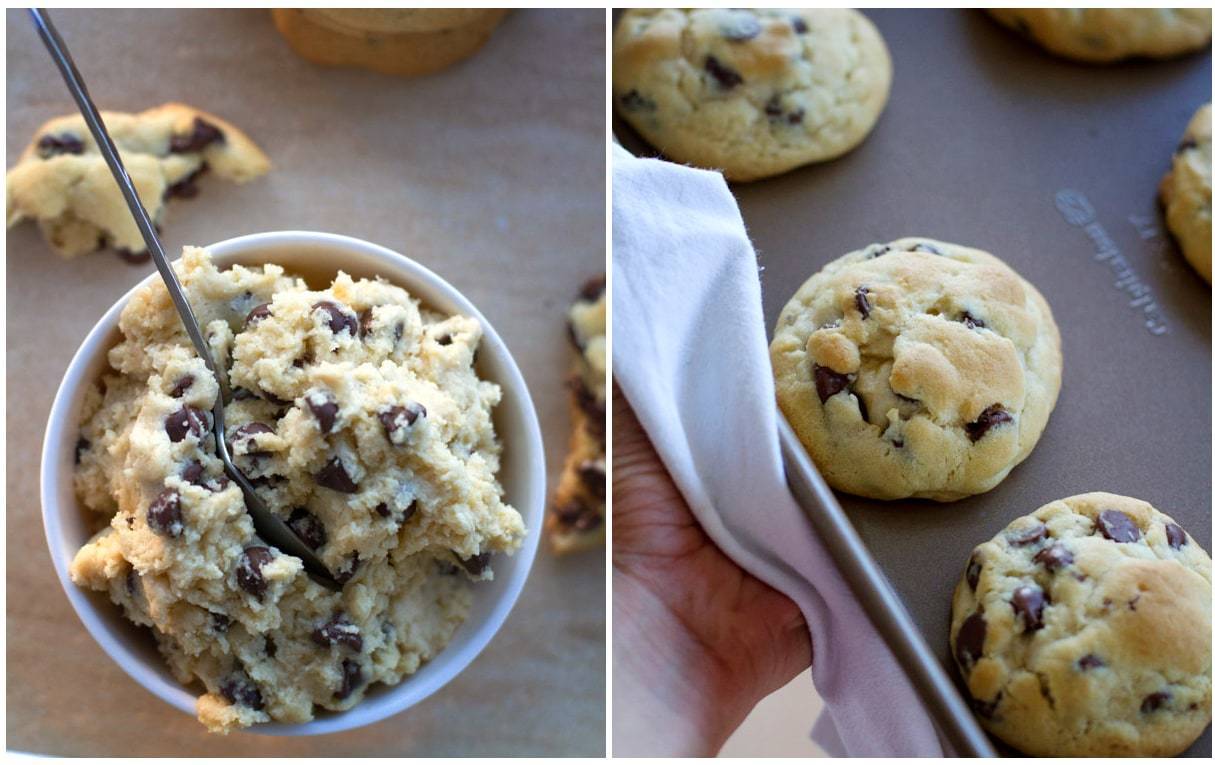
Can you settle knowing that these are my current all-time favorite? Time will tell which one actually wins out. But considering I’ve made three batches of these in one week which equals out to about 10 1/2 cookies per day, I think things are looking good for this recipe.
Just so you know, I didn’t eat all those. Mm mm.
I first made these when I was actually planning to make cookie brownies. I was missing my best friend who makes the world’s best cookie brownies, so actually I was sort of missing her AND her cookie brownies, and I fully intended to make the cookies AND the brownies. Cookie brownies. It’s normal to bake in 100 degree weather, right? Come look at my shirt right now. Not even funny.
But what happened instead was that I started making the cookie part, realized I had no brown sugar, and decided to just go for it with ONLY WHITE SUGAR. I tried to make up for the brown color and flavor (uh, sort of) by adding a little maple syrup. Turns out I only had a tablespoon of that, too.
I went for it anyways.
And the result was phenomenal. So phenom that I decided to ditch the brownie part.
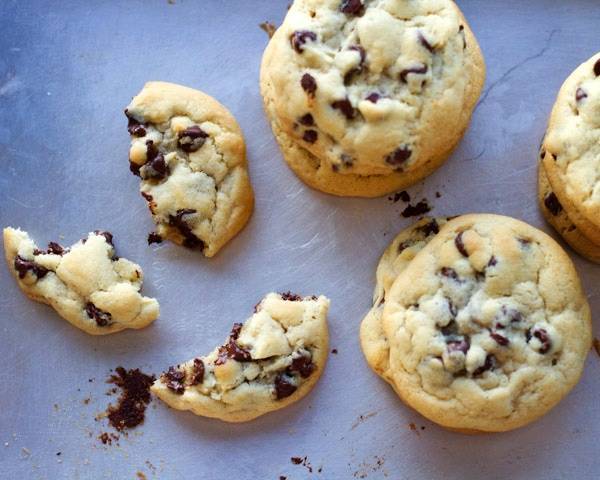
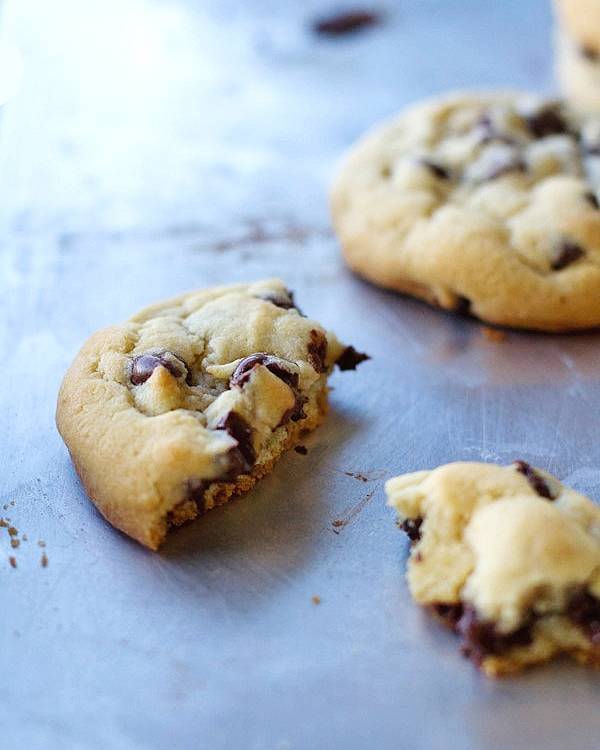
At first I thought they were going to be weird. They came out looking a little bit like my legs in February: pale city. But as they cooled it was like magic. The color evened out and they firmed up perfectly, in that soft but firm cookie way where you can bite it without it falling all over the place but it won’t make a crunching noise? you know that one? and it was thick, and chewy, and buttery soft but not cakey… ohmygosh. It was cookie perfection.
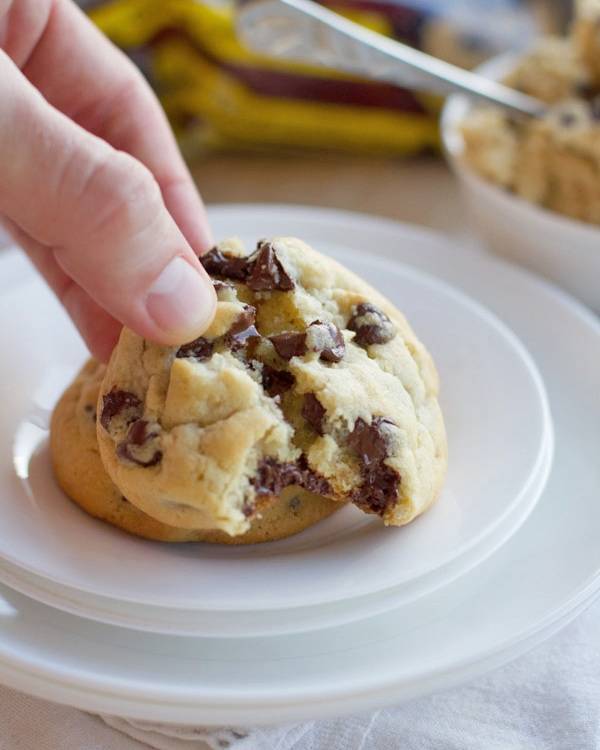
Also a bonus is that we are using the whole bag of chocolate chips here. None of this measuring most of the bag and being left with an awkward amount of chocolate chips that you can’t really do anything with except eat plain. Nope. We’re going all the way with the chippers. Dump them in. And as a result, the cookies are so chocolate chippy. I promise you won’t have one of those sad moments where you get to the end of your cookie and realize the last bite has no chocolate chip in it.
These are loaded.
Buttery, soft, thick, chewy cookie perfection.
And the perfect welcoming gift for my friend Angie to the Philippines! Our last visitor of the year. I feel some good times coming on.
I love you guys. I hope these make you insanely happy.
Perfect Chocolate Chip Cookies
- Total Time: 2 hours 12 minutes
- Yield: 32 cookies 1x
Description
These perfect chocolate chip cookies are adapted from the recipe on the back of the Hershey’s bag! So easy and SO addicting.
Ingredients
- 15 tablespoons salted butter (about 225 grams)
- 1 1/2 cup white sugar
- 1 tablespoon brown sugar
- 2 tablespoons real maple syrup
- 2 teaspoons vanilla extract
- 2 eggs
- 2 1/4 cup all purpose flour
- 1 teaspoon baking soda
- 1/2 teaspoon salt
- 1 bag Hershey’s semisweet chocolate chips
Instructions
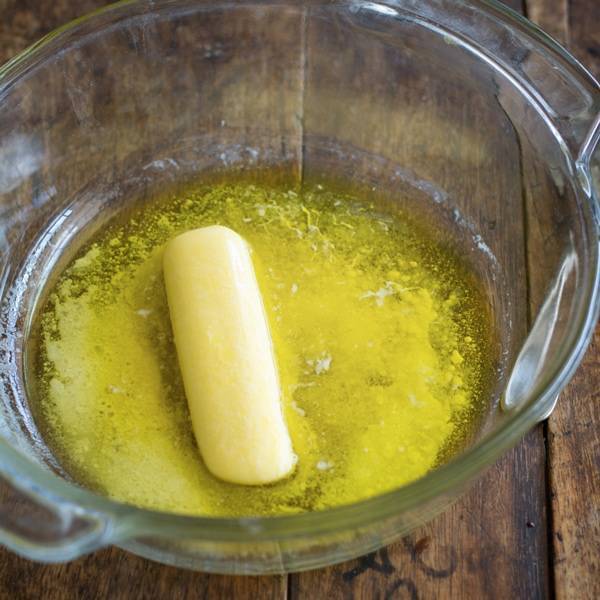
- Turn the oven on to 350 degrees. Put the butter in the oven in a stainless steel bowl as it’s preheating until about half of the butter is melted. Turn the oven off. Let the butter come back to room temperature – it doesn’t have to harden completely but just so it’s not hot anymore.
- Add the sugar, maple syrup, and vanilla to the bowl with the butter. Cream with electric mixers until well mixed. Add the eggs and beat on high speed for 1 minute.
- Measure in the flour, baking soda, and salt. You can do this in a separate bowl, but I usually just dump it all into the mixing bowl. Slowly mix with the electric mixer on low speed, scraping the sides, until all the flour is incorporated. Stir in the chocolate chips with a wooden spoon. Refrigerate for 2 hours or more, until firm. I refrigerated mine overnight.
- Preheat the oven to 375 degrees. When the dough is firm, roll 2 tablespoons or more into high, round balls. Place on a baking sheet a few inches apart and bake for 8-12 minutes. Sorry for the discrepancy – our oven here is so hard to read (literally, there are no temperature markings) so I usually just watch them after 8 minutes to see when they look ready. You want to take them out when they are puffy and just a tiny bit brown on the tops and edges. Let stand for a few minutes – they will lose a little of their puffiness but they should stay thick and hold together well.
Notes
Our butter measures differently here in the Philippines and it is very salty. So based on the comments, I have adjusted the amount of butter to be slightly less than 1 cup and to call for salted butter. If your first batch still comes out flat, I would suggest adding more flour (up to 1/2 cup). These are not meant to be flat! 🙂 I tried baking these on two different pans – one was a cheap aluminum baking sheet and one was actually Calphalon brownie pan (!), and both kept the cookies nice and thick. When you first take them out of the oven, they will look more pale than a normal golden-brown cookie but that’s normal. They start to look more even as they cool. These cookies should stay really thick and chewy even a day or two later. I like them stored in the refrigerator so they are firm and cold, but still buttery and soft. It’s important to consider your altitude, humidity, oven tendencies, etc. when baking these. Here’s a link with some helpful tips for making adjustments at the bottom of the page.
- Prep Time: 2 hours
- Cook Time: 12 mins
- Category: Dessert
- Cuisine: American
Keywords: chocolate chip cookie, easy chocolate chip cookie recipe, hershey’s chocolate chip cookie recipe
Update: 300,000 cookies later, I’ve put together this post outlining some simple tips that I use when I bake these cookies that I think will help your cookies turn out thick and chewy and buttery-perfect!
Update May 2015: I have recently posted a new version of this recipe that still gets the soft texture WITHOUT requiring any high maintenance butter melting/cooling. Here’s the new recipe!
