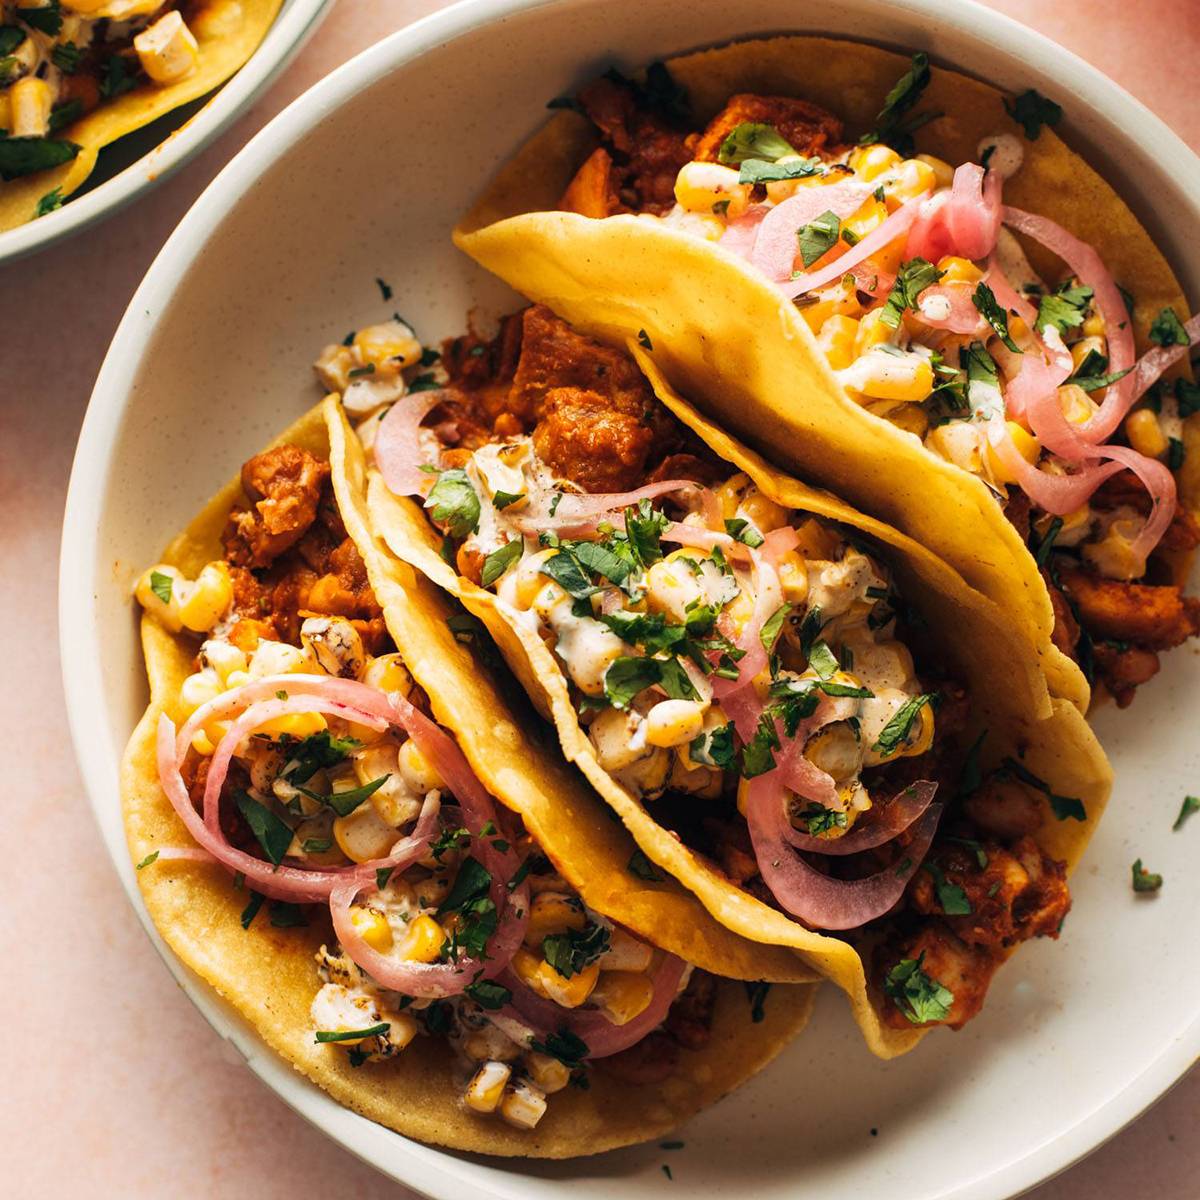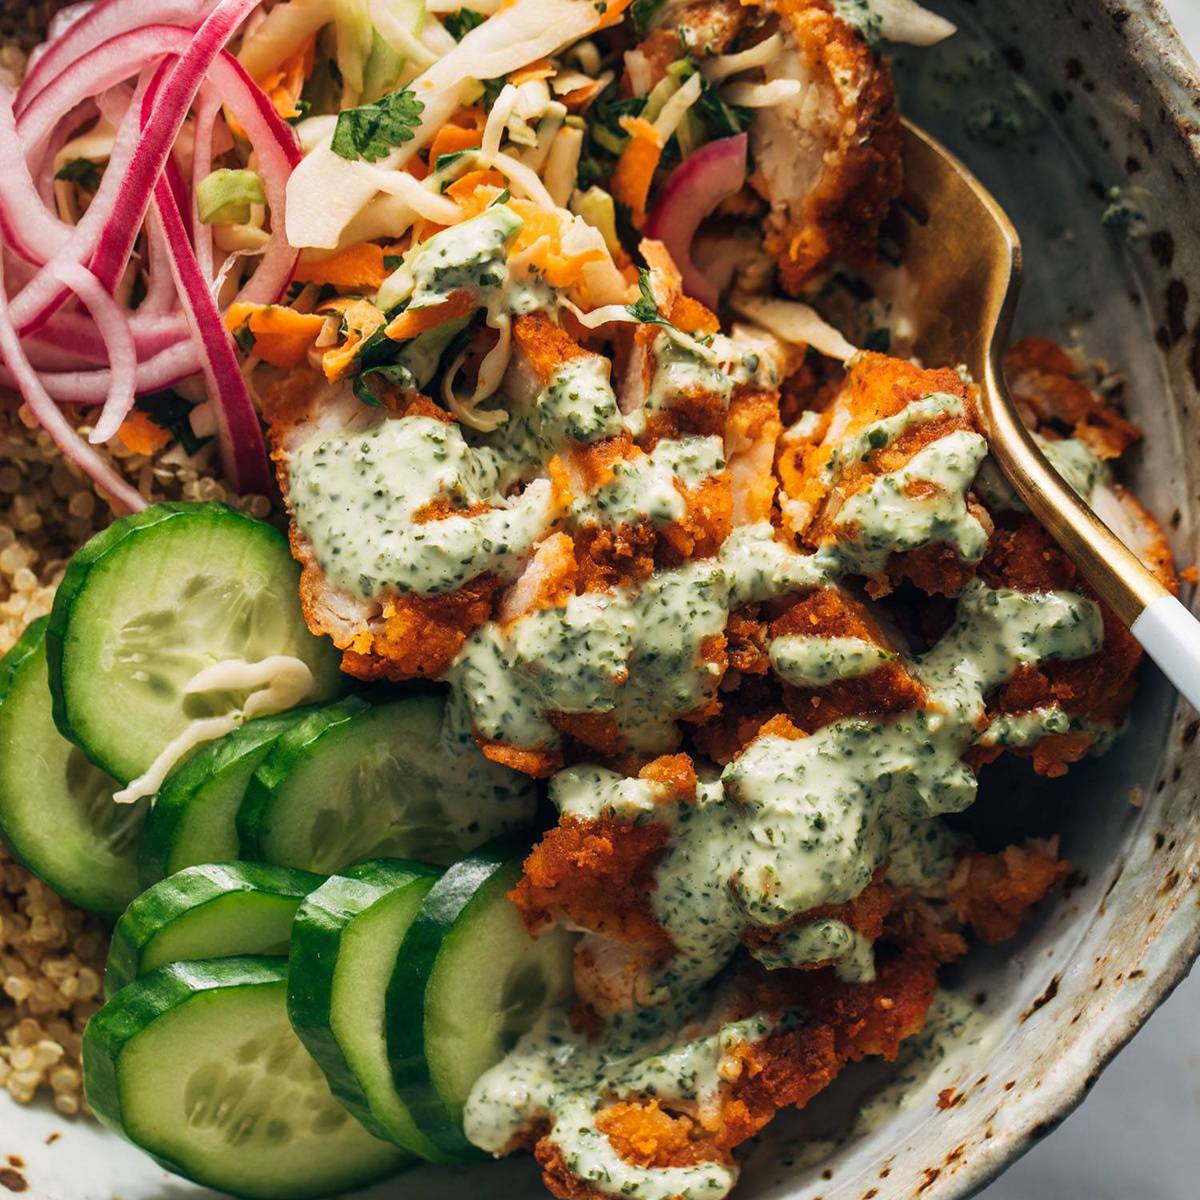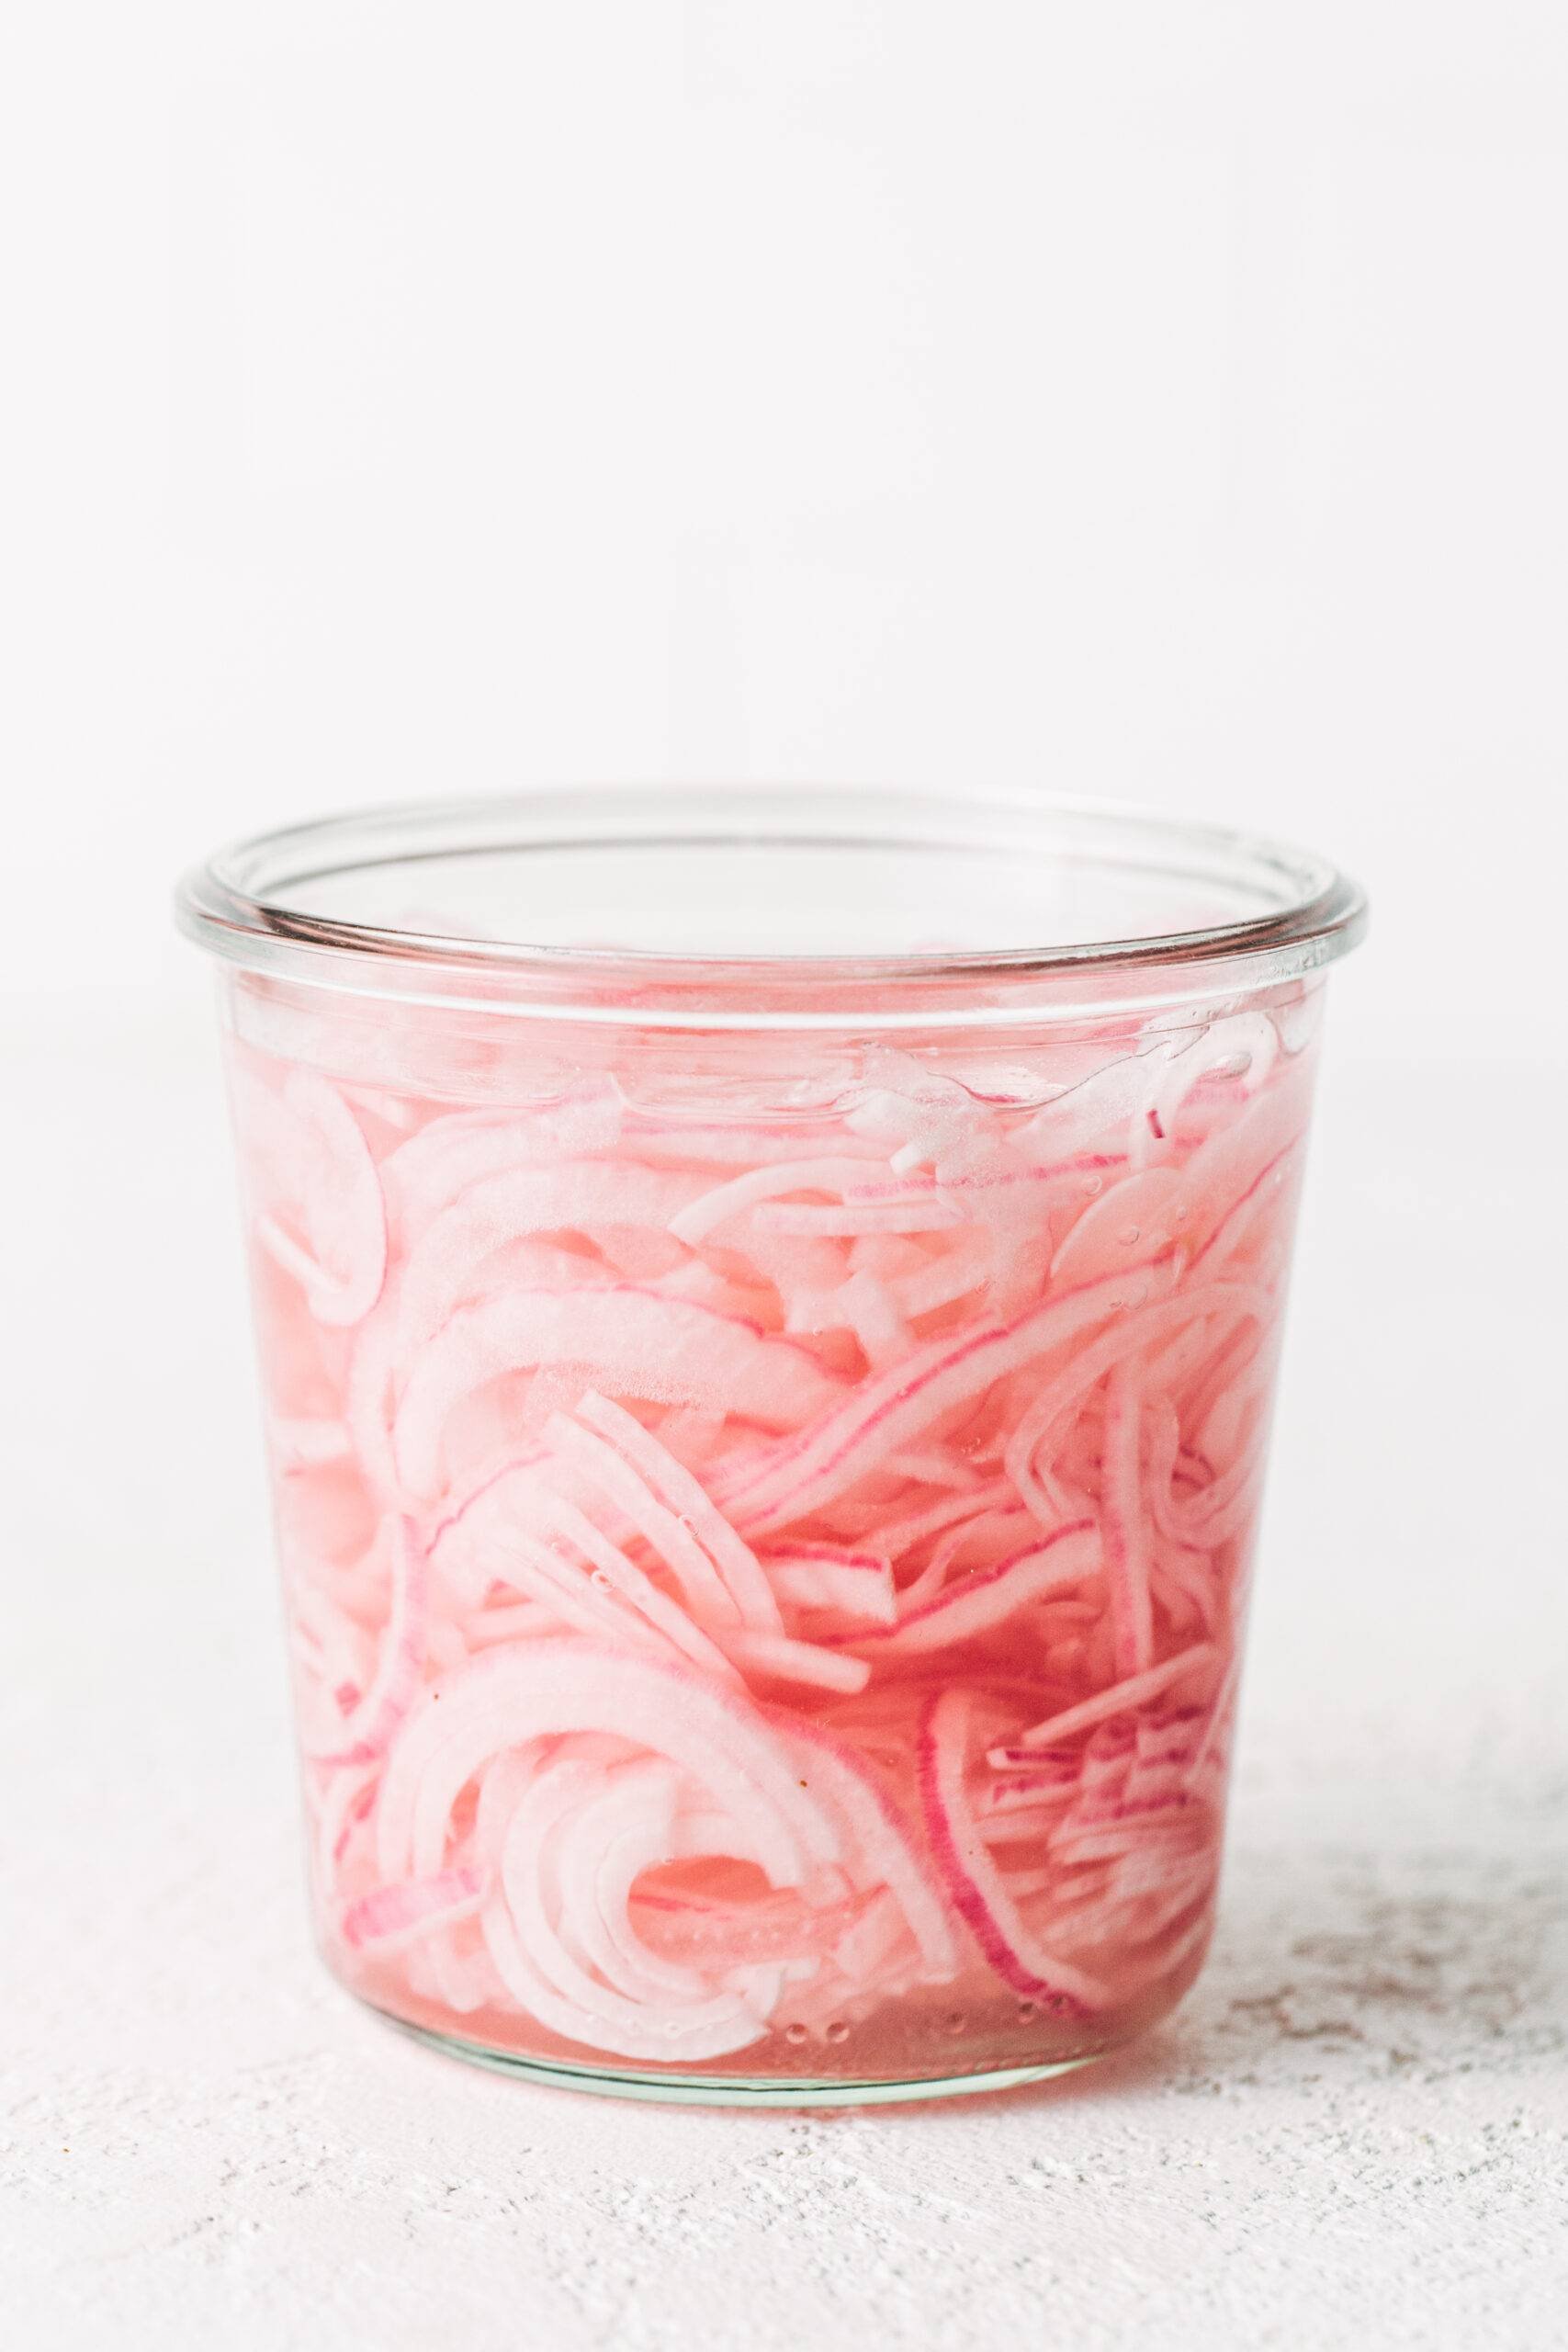
It’s a fact: pickled red onions make everything better. A little extra bite, a little extra tang, and those beautiful ribbony bits of purple and pink. This is one of my favorite fast and easy ways to make any meal a little (lot) more exciting.
In This Post: Everything You Need For Pickled Red Onions
- Take Me To The Pickled Red Onions Recipe
- How To Make
- Lindsay’s Notes
- Watch How to Make These Pickled Red Onions
- FAQs
- Reviews
My Go-To Method For Pickled Red Onions
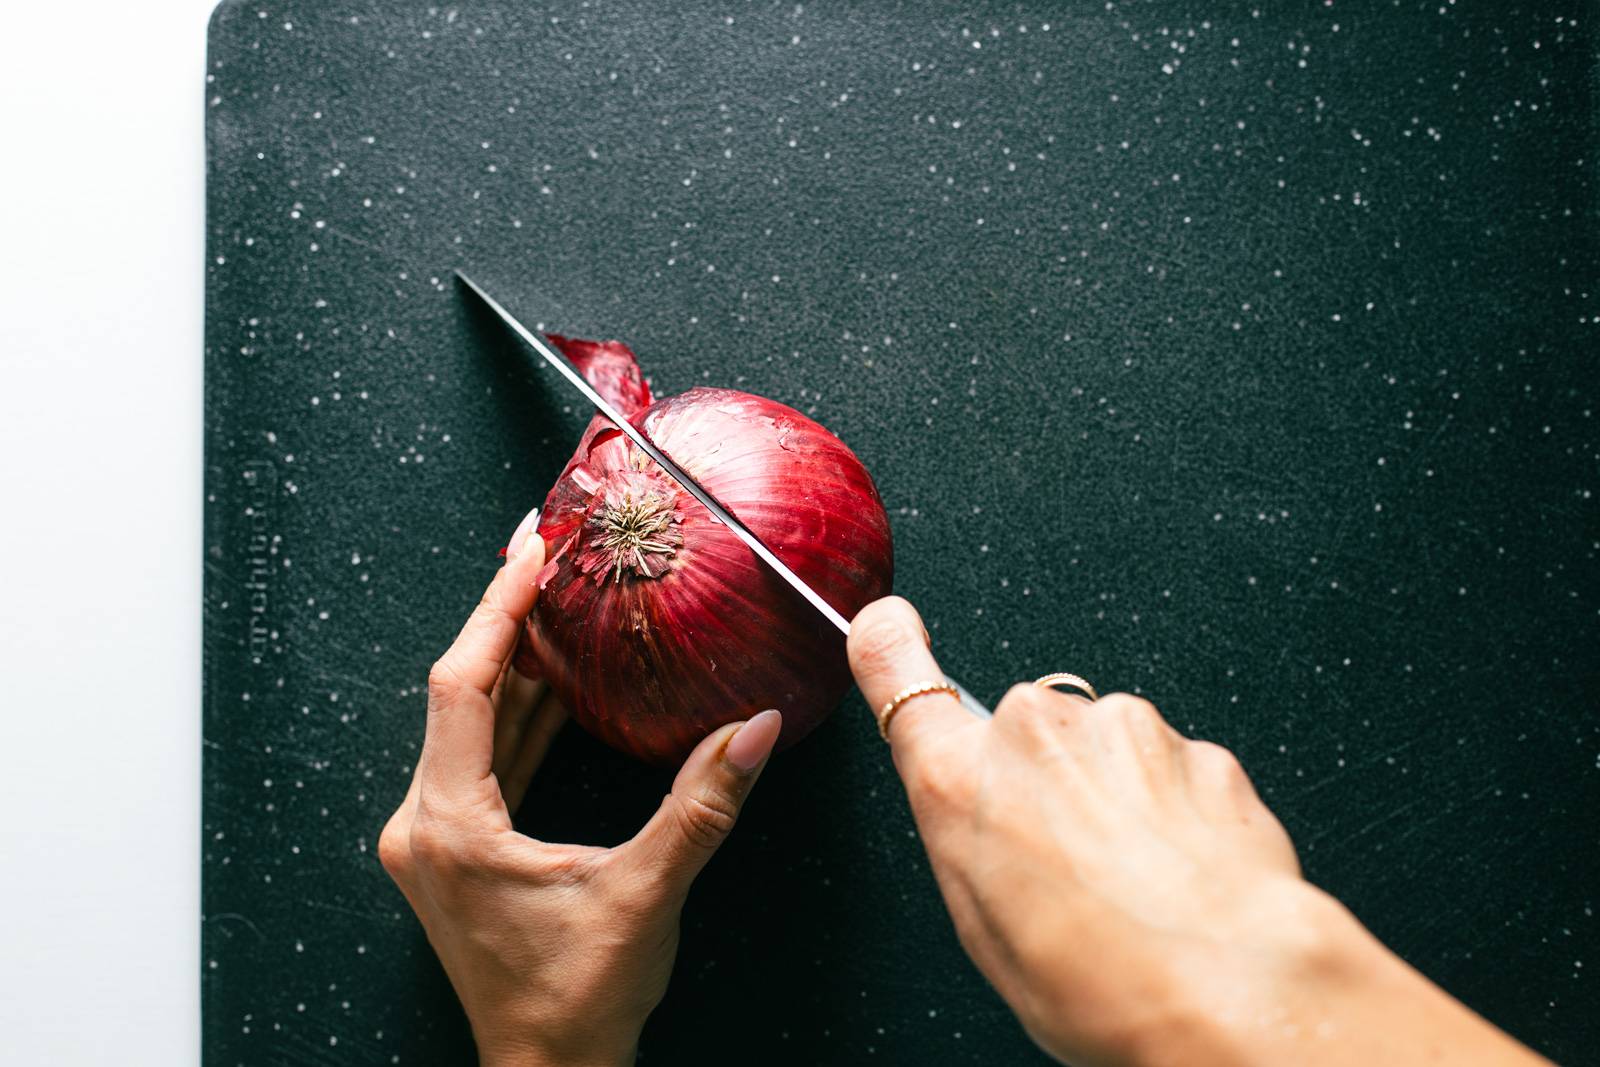
Step 1: Cut a Chunk Off the Onion.
I cut just to the side of the stem, going straight down. Remove the peel.
Step 2: Slice On a Mandoline.
This is where the magic happens.
I put my OXO mandoline (affiliate link) on setting #1 – the thinnest setting.
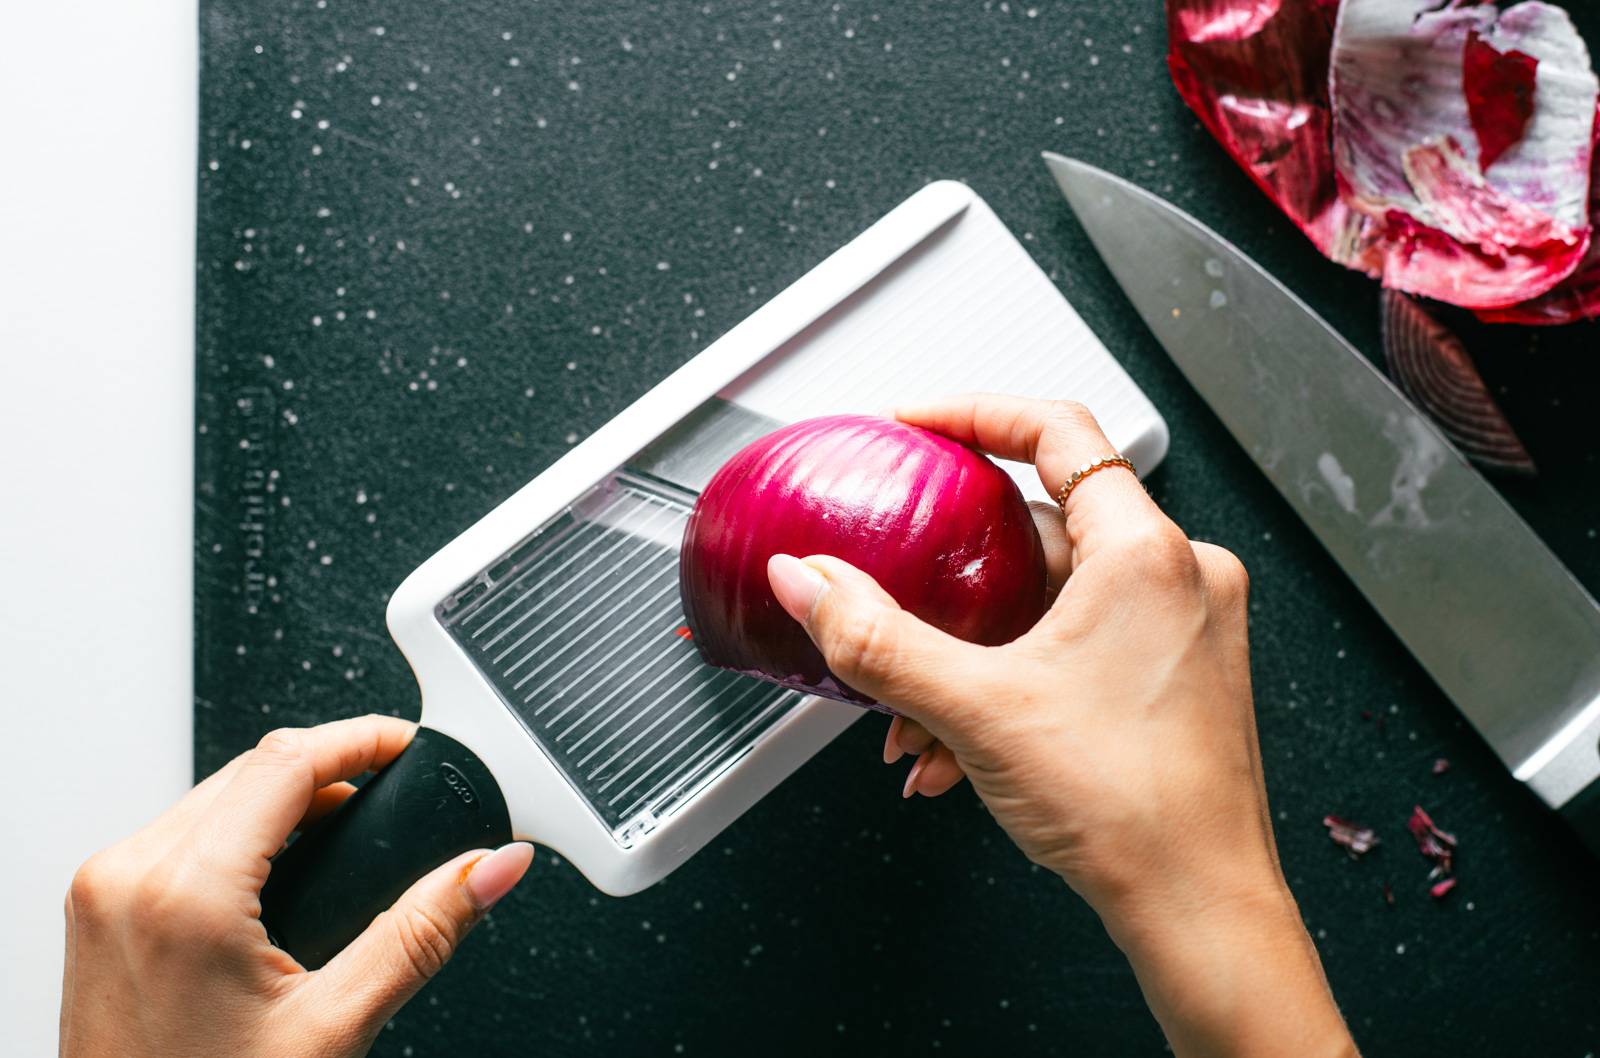
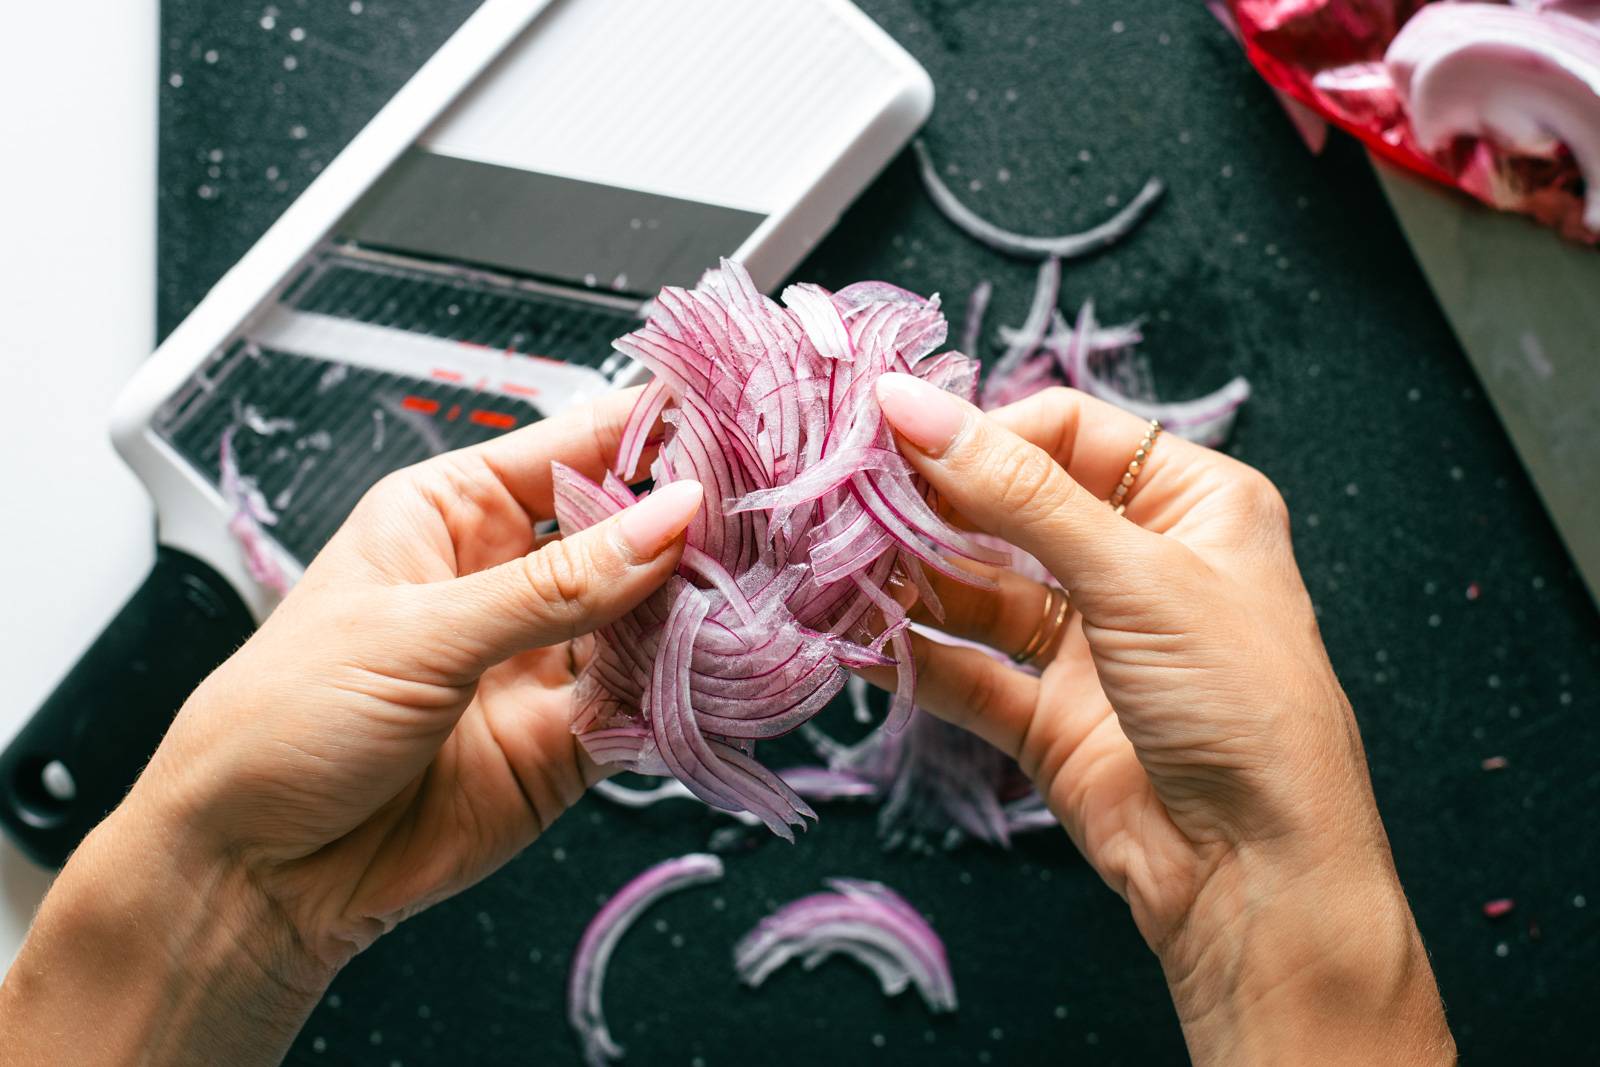
I turn the onion sideways and run it down the mandoline so that I get very thin little onion C-shapes.
In my opinion, the cut of the onion is very important in achieving an end result that is thin, ribbony, and beautiful. It’s also important to maximize the surface area of the absorbent onion flesh (not the skin) so that the onions really get saturated with all that vinegary goodness.
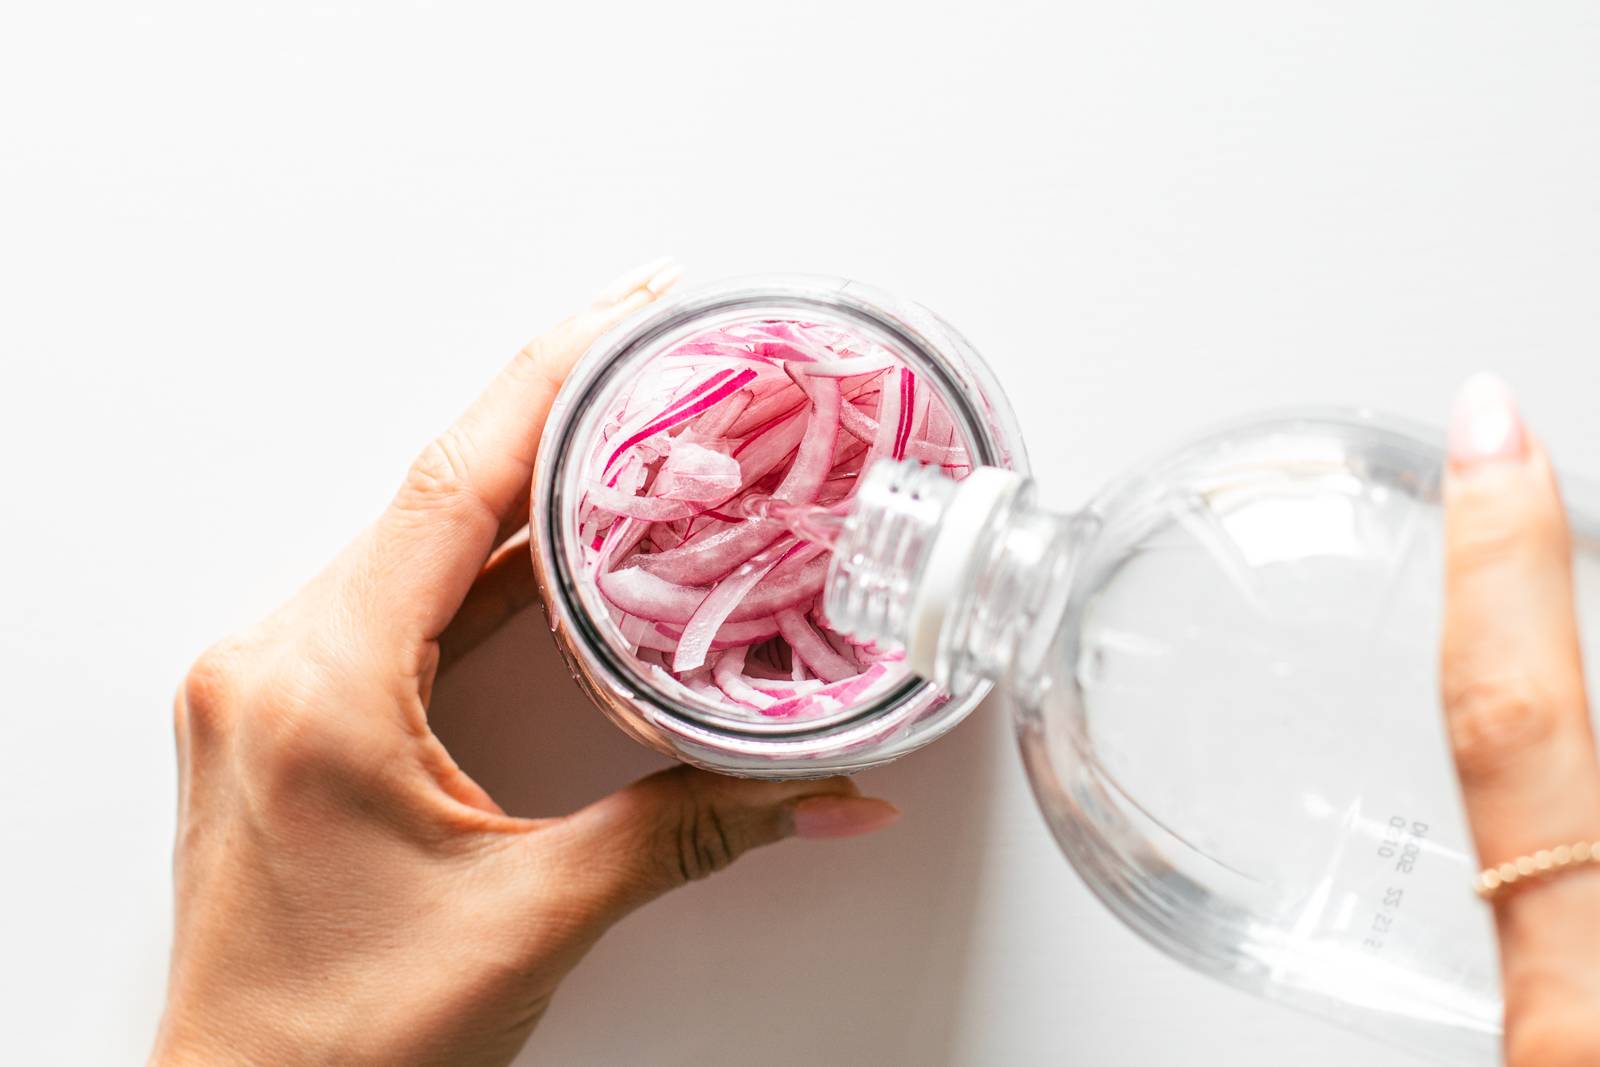
Step 3: Add the Vinegar, Water, and Salt.
Transfer your onions to a jar. Add a pinch of salt and sugar.
Fill the jar 1/3 to 1/2 way with white vinegar. And fill it the rest of the way with water.
Step 4: Rest!
Give these guys a little rest: 30 minutes minimum, and (personal preference) 5-7 days in the fridge.
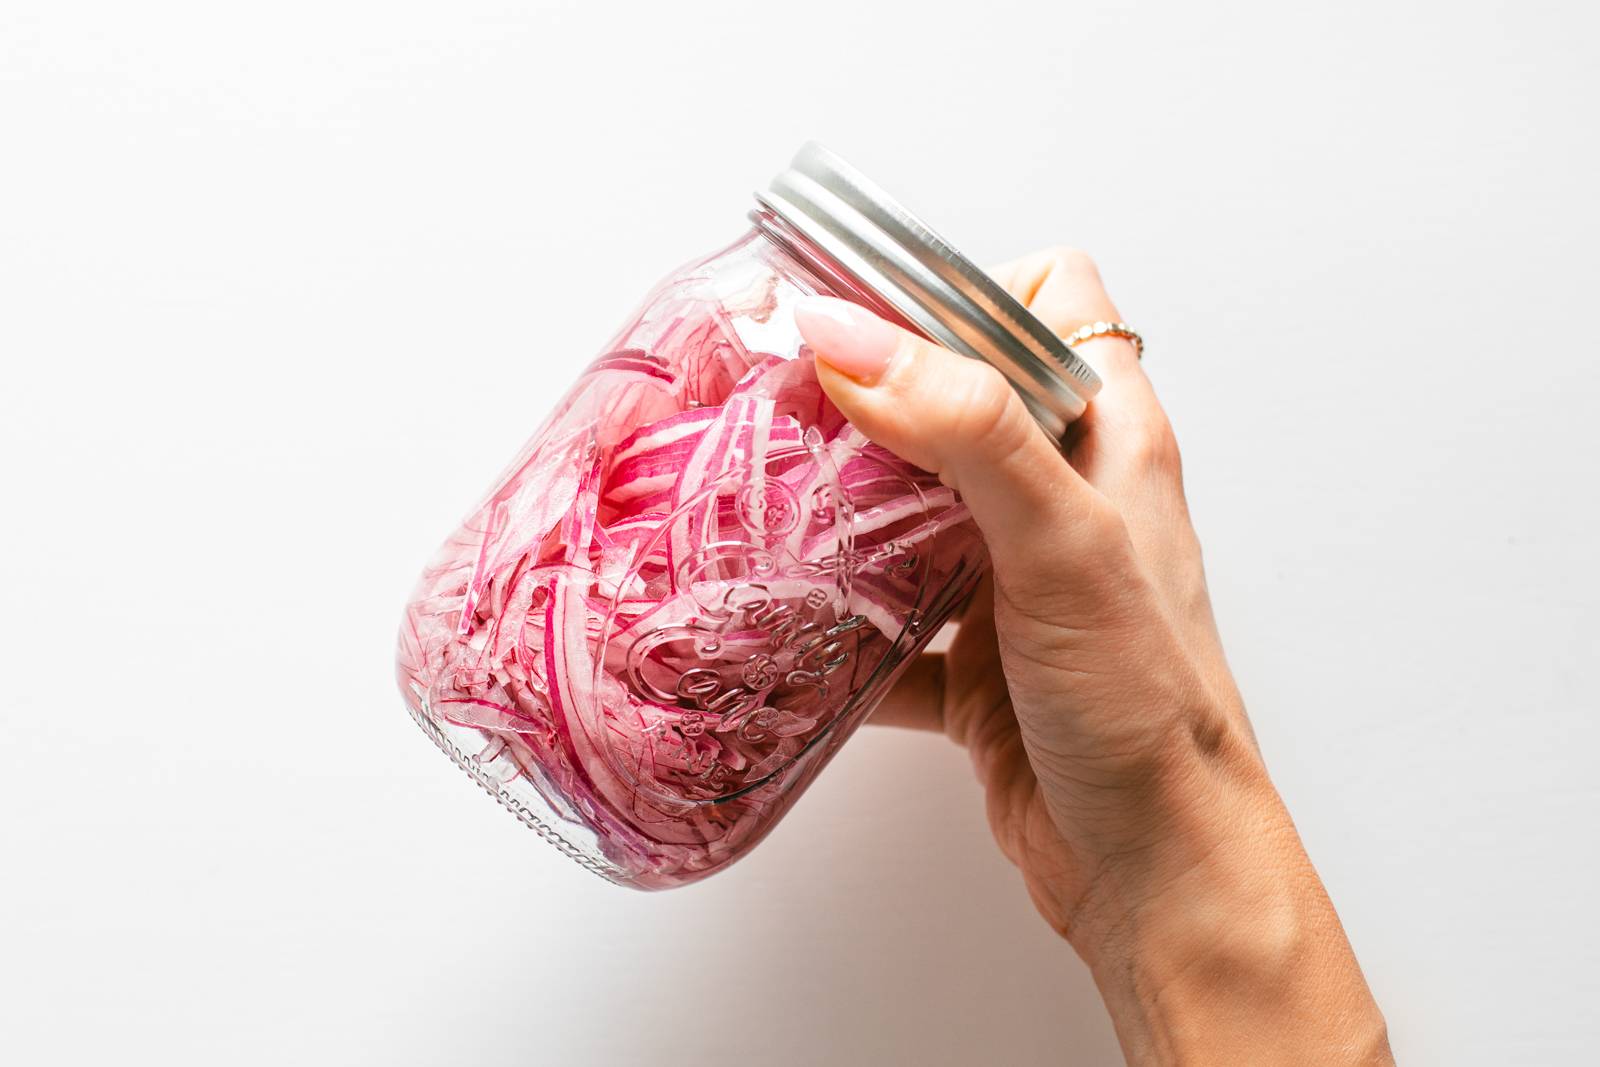
I don’t heat up my liquids which is why I don’t keep them around much longer than 5-7 days. (I also prefer the taste and texture within a few days!) This method is considered quick pickling: just putting raw onion slices in a brine and refrigerating. It works like a charm!
Lindsay’s Notes
Pickled red onions add so much to a sandwich, a bowl, a taco, and more. They are pretty, they are tasty, and I really really love them.
But – hot take – I strongly dislike adding a bunch of extra steps to a recipe just for something that is added at the end as a garnish. Getting out a full-blown saucepan for my garnishes is a line that I don’t like to cross.
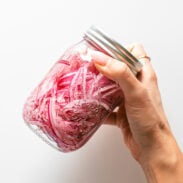
This is my solution to both: a super fast, easy jar of beautifully ribboned pickled red onions that can be made in about five minutes flat.
Two key things that I do that might be different from other methods:
- The Cut: I use a mandoline to slice the onions very, very thin. This helps with getting maximum onion surface area to absorb the brine, and it also helps to create beautifully twisty, thin little ribbons that can be piled in a pretty little tangle on top of your bowls, sandwiches, etc.
- The No-Heat Method: I add the water and vinegar directly to the jar. No boiling, no extras. Just straight white vinegar, water, sugar, and salt. This is considered quick pickling and works great if you’re just making one jar to be used in recipes throughout the week (versus doing the water bath and canning).
After my five minutes of prep, they hang out in the fridge while I make the rest of dinner. And they’re ready to be eaten by the time I’m done cooking! Yay for pickled red onions.

Watch How To Make Pickled Red Onions
My Go-To Pickled Red Onions
Total Time: 5 minutes
Yield: 1 jar of pickled red onions 1x
Description
These pickled red onions are super fast, super easy, and add a beautiful tangle of tangy onion flavor just about to any recipe!
Ingredients
Scale
- 1 red onion, peeled and cut into several chunks (see photos above)
- white vinegar (roughly 1/3 cup)
- water (roughly 2/3 cup)
- 1/2 teaspoon coarse kosher salt
- 1/2 teaspoon sugar
Instructions
- Thinly slice your chunks of onion into C-shapes using a mandoline on the thinnest setting. (This is what I prefer – if you want the onions more chunky, adjust as needed.)
- Place the onions in a jar and add vinegar – I just eyeball it until the jar is about one third of the way full.
- Fill the rest of the jar with water. Add salt and sugar; shake a few times to combine.
- Let them rest in the fridge for 30 minutes to 1 hour – then they’re ready to use! They can stay in the fridge up to 5-7 days.
- Prep Time: 5 minutes
Frequently Asked Questions For Pickled Red Onions
Some people prefer to use red wine vinegar! I like white vinegar here (and in many recipes) because it’s just extra punchy.
These will last for 5-7 days in the fridge. You could probably keep them longer; however, I don’t like to keep them any longer than that because 1) I don’t boil my liquid first, and 2) I prefer the taste within the first few days.
I do not boil the liquid, and I think my pickled onions are exceptional! *grins* So I am living proof that you don’t need to boil the liquid. That said, the two main reasons that people boil their liquid for pickled onions are:
1) for canning purposes or to make them last longer.
2) to help the liquid get absorbed into the onions faster.
In my opinion and experience, a really strategically thin slice of your onions can accomplish the same thing and allows for super fast absorption of the liquid in the same way that boiling does.
Yes to both!
I use the OXO mandoline (affiliate link) and I love it. I use it on setting #1 for these onions so they get nice and papery thin.
I always use red onions (hence this recipe: pickled red onions). Their bite and their color make them very delightful to add to so many things.
I primarily use them as a garnish. They’re perfect in a little tangled pile on tostadas, tacos, sandwiches, wraps, bowls, pizzas, all of the above, and more. They add tanginess, color, and oniony bite – like a raw onion, but less offensive and more nuanced.
Red onions have a lot of good-for-you vitamins and minerals in them to begin with, but the most notable health benefits here might be from the pickling process itself. This produces probiotics which can help with digestion – you can read more about it here.

