
This post is sponsored by Wholesome! In this recipe, their organic brown sugar and their organic powdered sugar totally shine. 👌
The Christmas tea ring returns!
And oh my gosh, is she a beautiful lady or what?! I can’t even, you guys. I MADE THAT. 🏆 I baked that Christmas tea ring right in my very own kitchen. We are talking about a homemade brioche stuffed it with a cream cheese raspberry filling and drizzled with the simplest of powdered sugar glaze type of situation. HELLO.
Those of you who have been around this blog since Christmas of 2013 might remember the beloved, disastrous, embarrassing daughter-in-law moments of years gone by. Exhibit A in case you need a refresher.
So maybe I am not one for crafty recipes? I dunno, maybe.
But this? This Christmas tea ring with raspberry cream cheese filling is straight up TRADITION for us, and so it is the one crafty food thing I make an exception for.
I mean, it’s almost like I wouldn’t be a true Ostrom if I didn’t learn how to make this. Bjork and I grew up in a small town in Minnesota, and with our good ol’ Scandinavian roots, Bjork’s mom would make this tea ring for his family AND MY FAMILY every year. I literally mean that. Our families lived (still live) less than a mile from each other, and Bjork’s mom would deliver tea rings to my family for Christmas morning before we were ever even dating. So naturally I fell in love with him so I could marry into the tea ring family. Or something?
No, but seriously – in a weird twist of fate, we both grew up eating these beauties. It just isn’t true Christmas for us without a tea ring.
So THIS IS THE YEAR!
I’m so excited to present to you the Christmas Tea Ring of 2015. I think I’ve finally mastered it.
How To Make Our Christmas Tea Ring (1 MIN):


Hold up. I see you there, little one. You’re saying, NO NO NO. I can’t make a tea ring. It’s too complicated.
But I know how you think because you and I are one in the same, and we can do this. We can achieve our Tea Ring Goals together.
I mean, I’m not going to tell you this is an easy recipe. Or quick. It’s not easy and it’s not quick. But it’s a lot simpler than it seems. And if you need to start with pre-made crescent sheets before launching into the world of homemade brioche, no issues with that whatsoever. I salute you no matter how you make this happen.
Essentially what is happening here is three things:
- ROLLING – roll up the dough with the filling, form into a circle
- CUTTING – cut one-inch sections around the circle
- FANNING – spread each section out so it looks pretty when baked
It reminds me a lot of this cinnamon pull apart bread but in circular form.
You can most definitely change up the filling – maybe even go super minimal with a cinnamon sugar situation. I did that for a test run and I did not regret it.
Friends, we are using Wholesome! sugars in this recipe as we do in many of our dessert recipes (like so and like so). One of my favorite things about Wholesome! is that they pay attention to quality, obviously, but just as important is the fact that they also care about things like sustainability and Fair Trade prices for farmers. THIS IS SO GOOD on so many levels. Taste being one of them. 👅
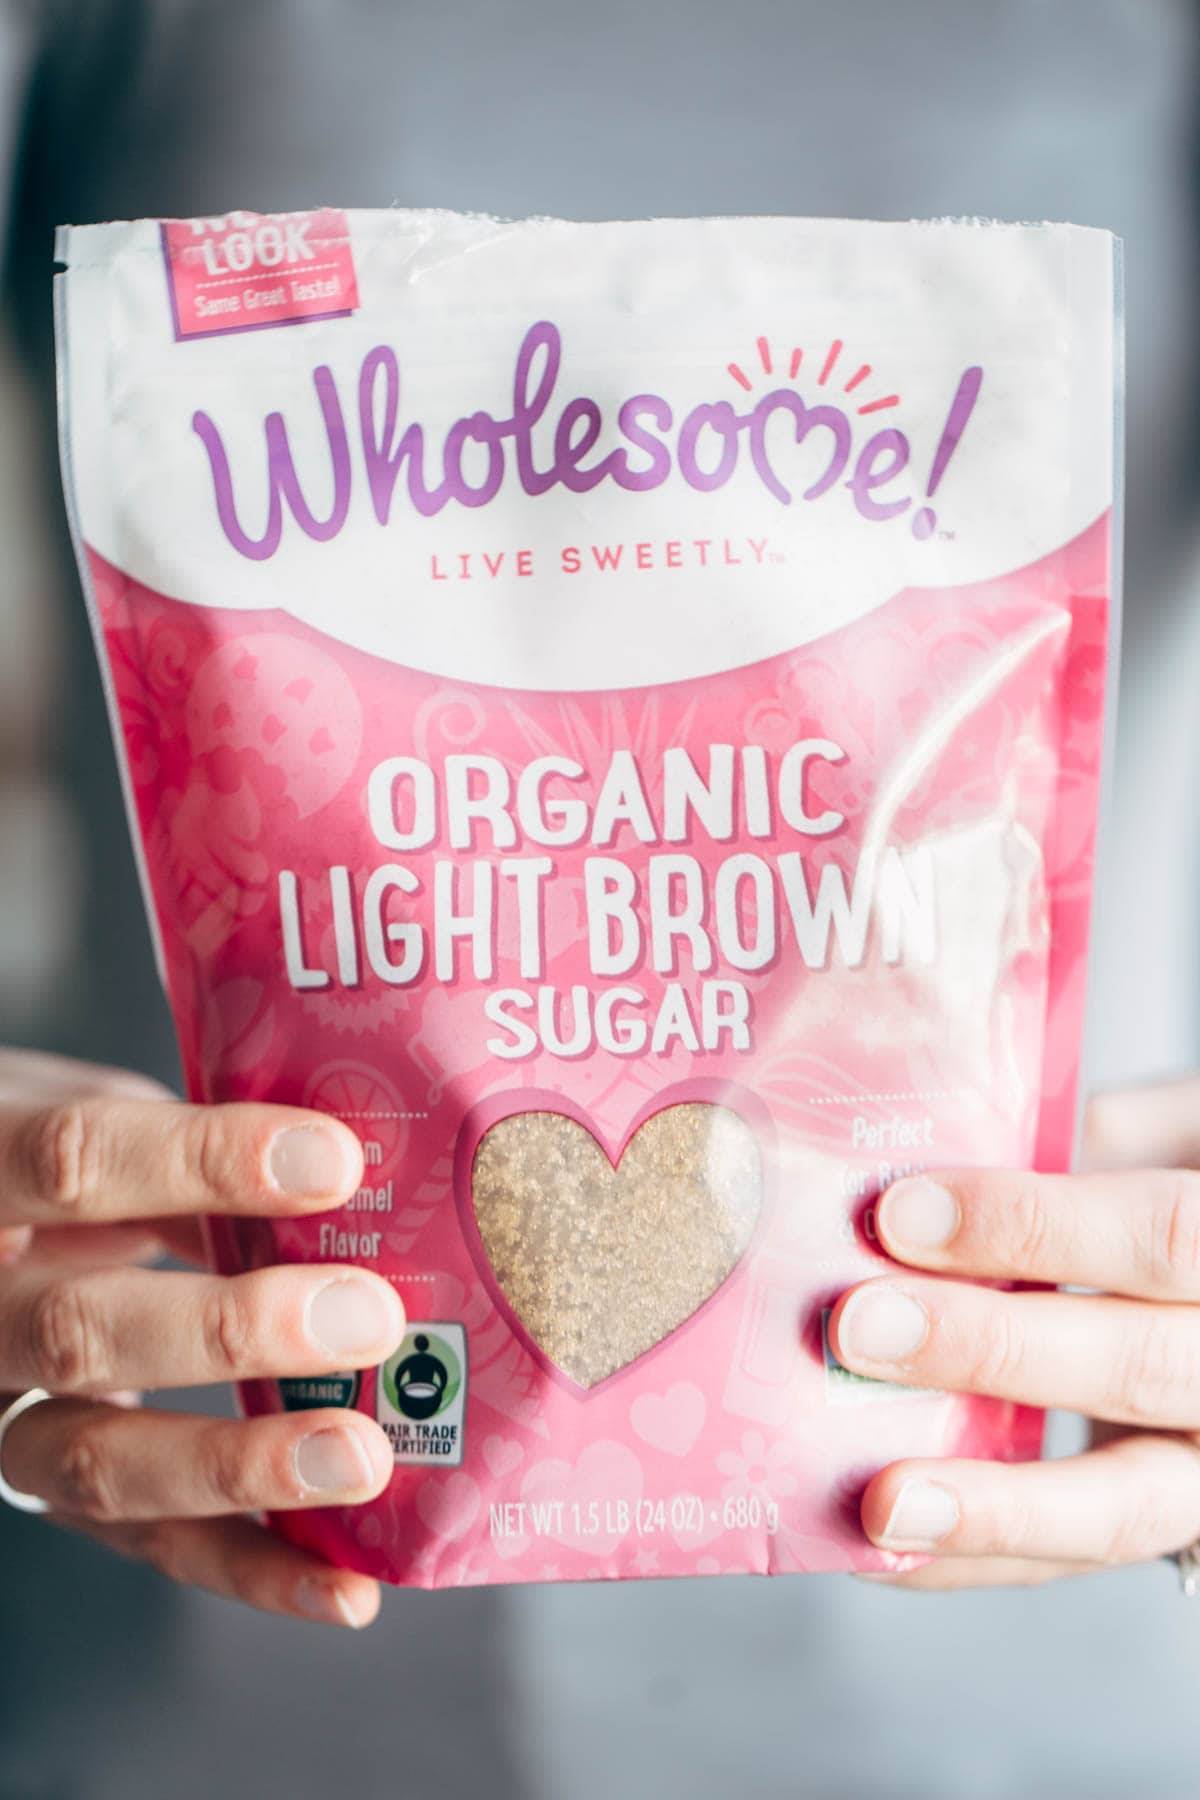
Also a favorite thing -> you can buy Wholesome! at Target. I get weirdly happy walking through the baking aisle and seeing all the organic Wholesome! products lined up in a neat little row. Well done, Super T. Well done.
Friends, your neighbors and family and self need to be loved by this tea ring. I know you can do it. I know you can.
You are going to be so proud when it’s done and you’re going to send me emails and Instagrams and snaps showing the beautiful finished product that brought your Christmas morning brunch status to BAKING ROCKSTAR. I cannot wait.
Merry baking!



Christmas Tea Ring with Raspberry Cream Cheese Filling
- Total Time: 50 minutes
- Yield: 2 tea rings – each serves about 8 1x
Description
Christmas Tea Ring filled with Raspberry Cream Cheese Filling – the most beautiful Scandinavian-inspired recipe for holiday brunch!
Ingredients
5 Minute Brioche Dough: (for a quicker and easier version, 2 cans of crescent roll sheets pressed together will give you enough for one tea ring)
- 1 cup lukewarm water
- 1 packet dry active yeast (about 1 3/4 teaspoons)
- 1 1/2 teaspoon salt
- 4 large eggs, room temperature
- 1/4 cup honey
- 3/4 cup melted butter
- 4 1/2 cups flour (more for dusting)
Raspberry Cream Cheese Filling:
- 8 ounces cream cheese (regular or light)
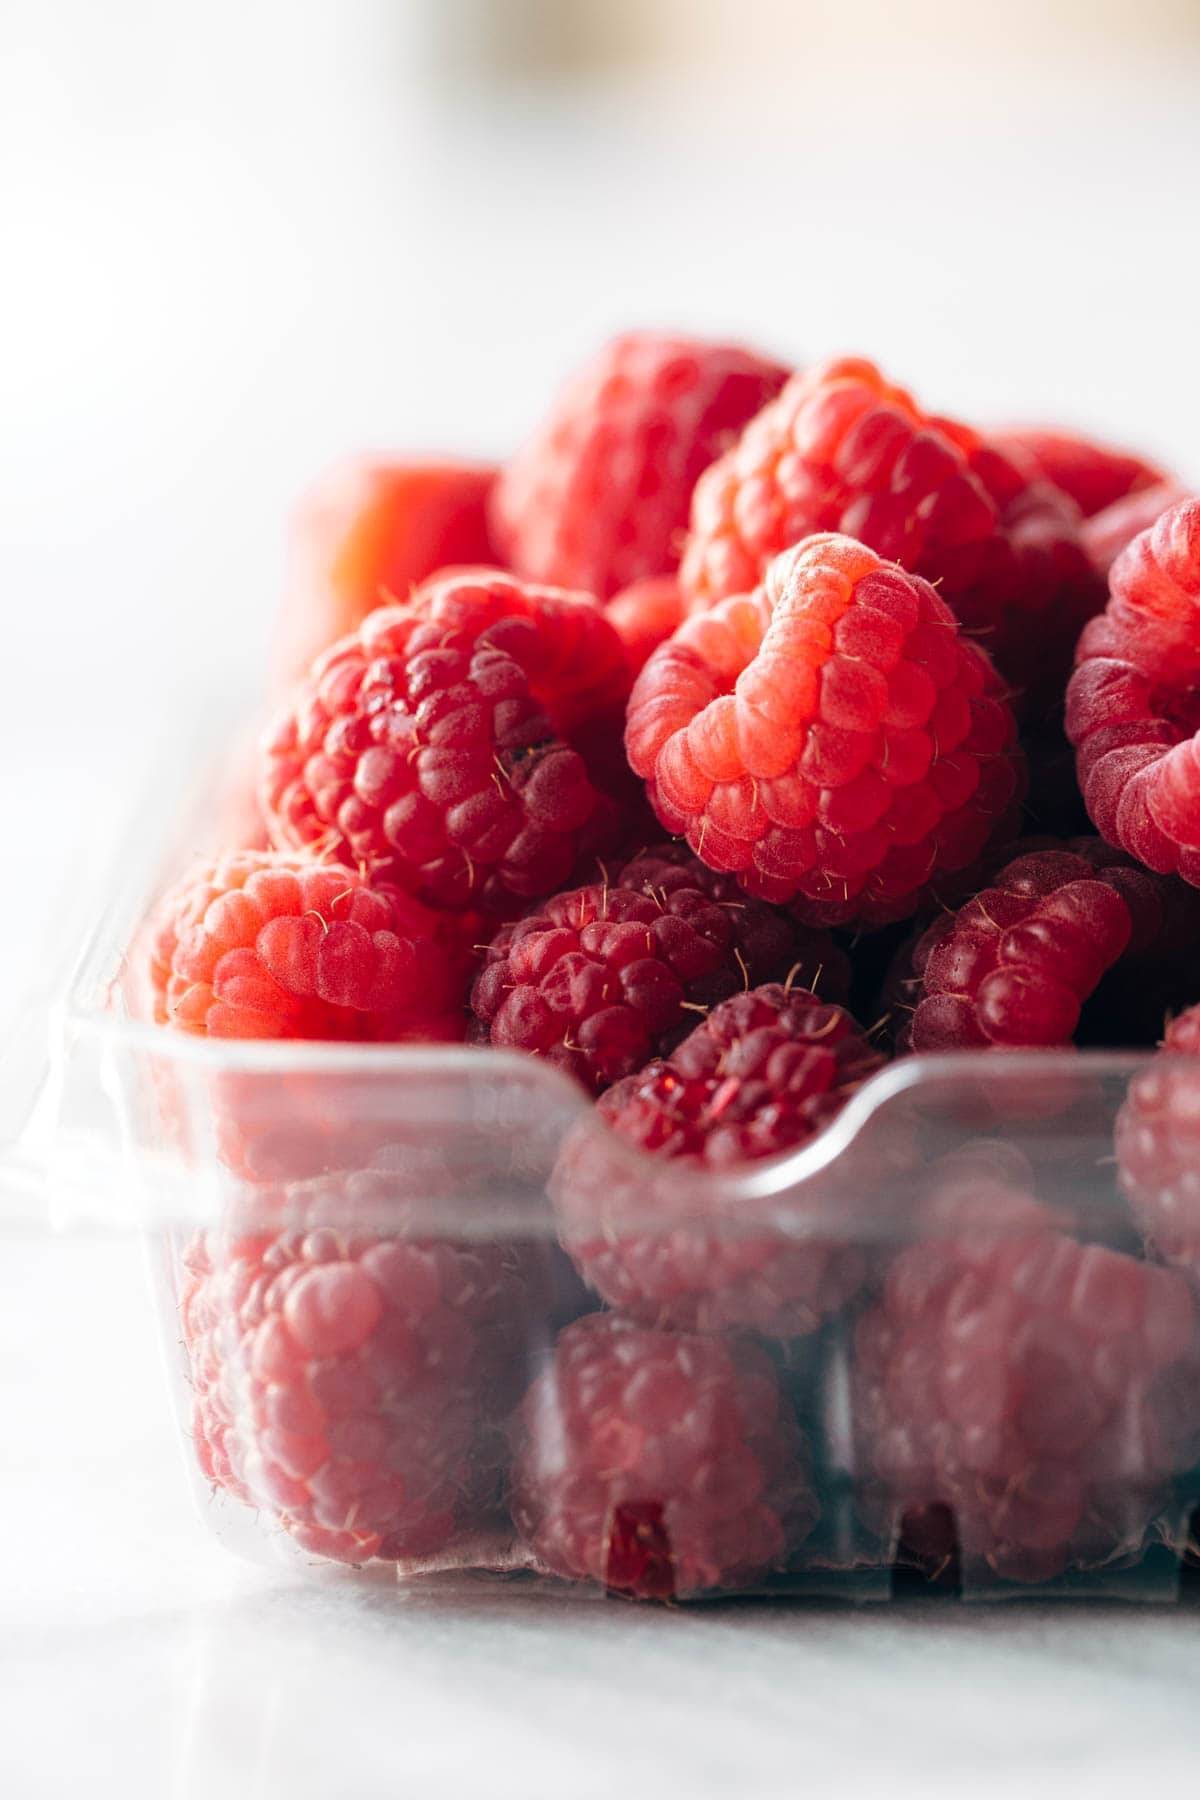
- 1 cup fresh raspberries
- 1/3 cup Wholesome! organic light brown sugar
- 1/4 cup chopped pecans (optional)
Glaze and Toppings
- 1 cup Wholesome! organic powdered sugar
- 4 teaspoons milk
- additional raspberries, sliced almonds, pecans, or turbinado sugar for topping
Instructions
- For the dough: Mix the water, yeast, salt, eggs, honey, and butter together in a large bowl by hand. Stir in the flour by hand just until incorporated. It will be sticky but should come together in a very soft dough. Set aside in a warm place (I cover mine with a clean, warm, barely-wet kitchen towel) and let rise for about 2 hours. At this point it’s going to be too sticky to handle, so it needs to chill in the fridge for a while – I usually leave mine overnight.
- For the filling: Mix filling ingredients together until incorporated. The raspberries will break down and that’s perfect.
- Assembly Step 1: Split the dough in half and generously flour the outside of each half so you can handle it without it sticking. Gently roll or press on a well-floured surface to form a big rectangle about 1/4 inch thick. I usually let the natural shape of the dough dictate the exact dimensions rather than try to press it and stretch it into something that it doesn’t want to do. If it starts fighting you and pulling back at the edges, it’s probably overworked – just let it sit and relax again for 30 minutes or so. Once you have a rectangle that feels about right in terms of thickness, cut the dough from the edges to create straight edges.
- Assembly Step 2: For each tea ring, spread a thin layer of the cream cheese mixture (about half of the cream cheese mixture per half of the dough) onto the dough, going almost to the edges. Starting at the longer side, roll the dough up very gently to form a long log-shaped roll.
- Assembly Step 2: Pull the log gently to make it a little longer and thinner – this makes it easier to assemble in a circle. Cut the uneven ends off with a wet knife so you have two clean ends that will stick together when formed into a circle. Transfer to a baking sheet and form into a circle, seam side down, gently pinching the cut ends together to secure the circle. Chill in the freezer for 30 minutes or so (this just helps it stay together and makes it easier to cut without losing its shape).
- Assembly Step 4: Preheat the oven to 375 degrees. Remove the chilled dough and cut 1-inch sections around the circle, going almost all the way through but not quite. Fan out each of the sections and push it flat. <– At this point you might feel like it looks terrible and you’ve failed miserably. Hang with it. Keep pressing it, adjusting it, gently arranging it – it will work! So much magic happens once you bake it and top it with the glaze.
- Baking: Brush with one whisked egg yolk + 1 teaspoon milk (optional but pretty). Bake for 20 minutes or longer until the top is golden brown and the inside is just barely cooked through (I prefer underbaking since overbaking will dry it out).
- Topping: Whisk the powdered sugar and the milk together. Drizzle over the still-warm tea ring. Sprinkle with almonds, raspberries, or anything else you like. Serve immediately (SO GOOD while still warm) or store in the fridge!
- Prep Time: 30 mins
- Cook Time: 20 mins
- Category: Dessert
- Cuisine: Scandinavian
Keywords: christmas tea ring, tea ring, raspberry cream cheese
Mwah! XO

This post has been sponsored by Wholesome! ♡
