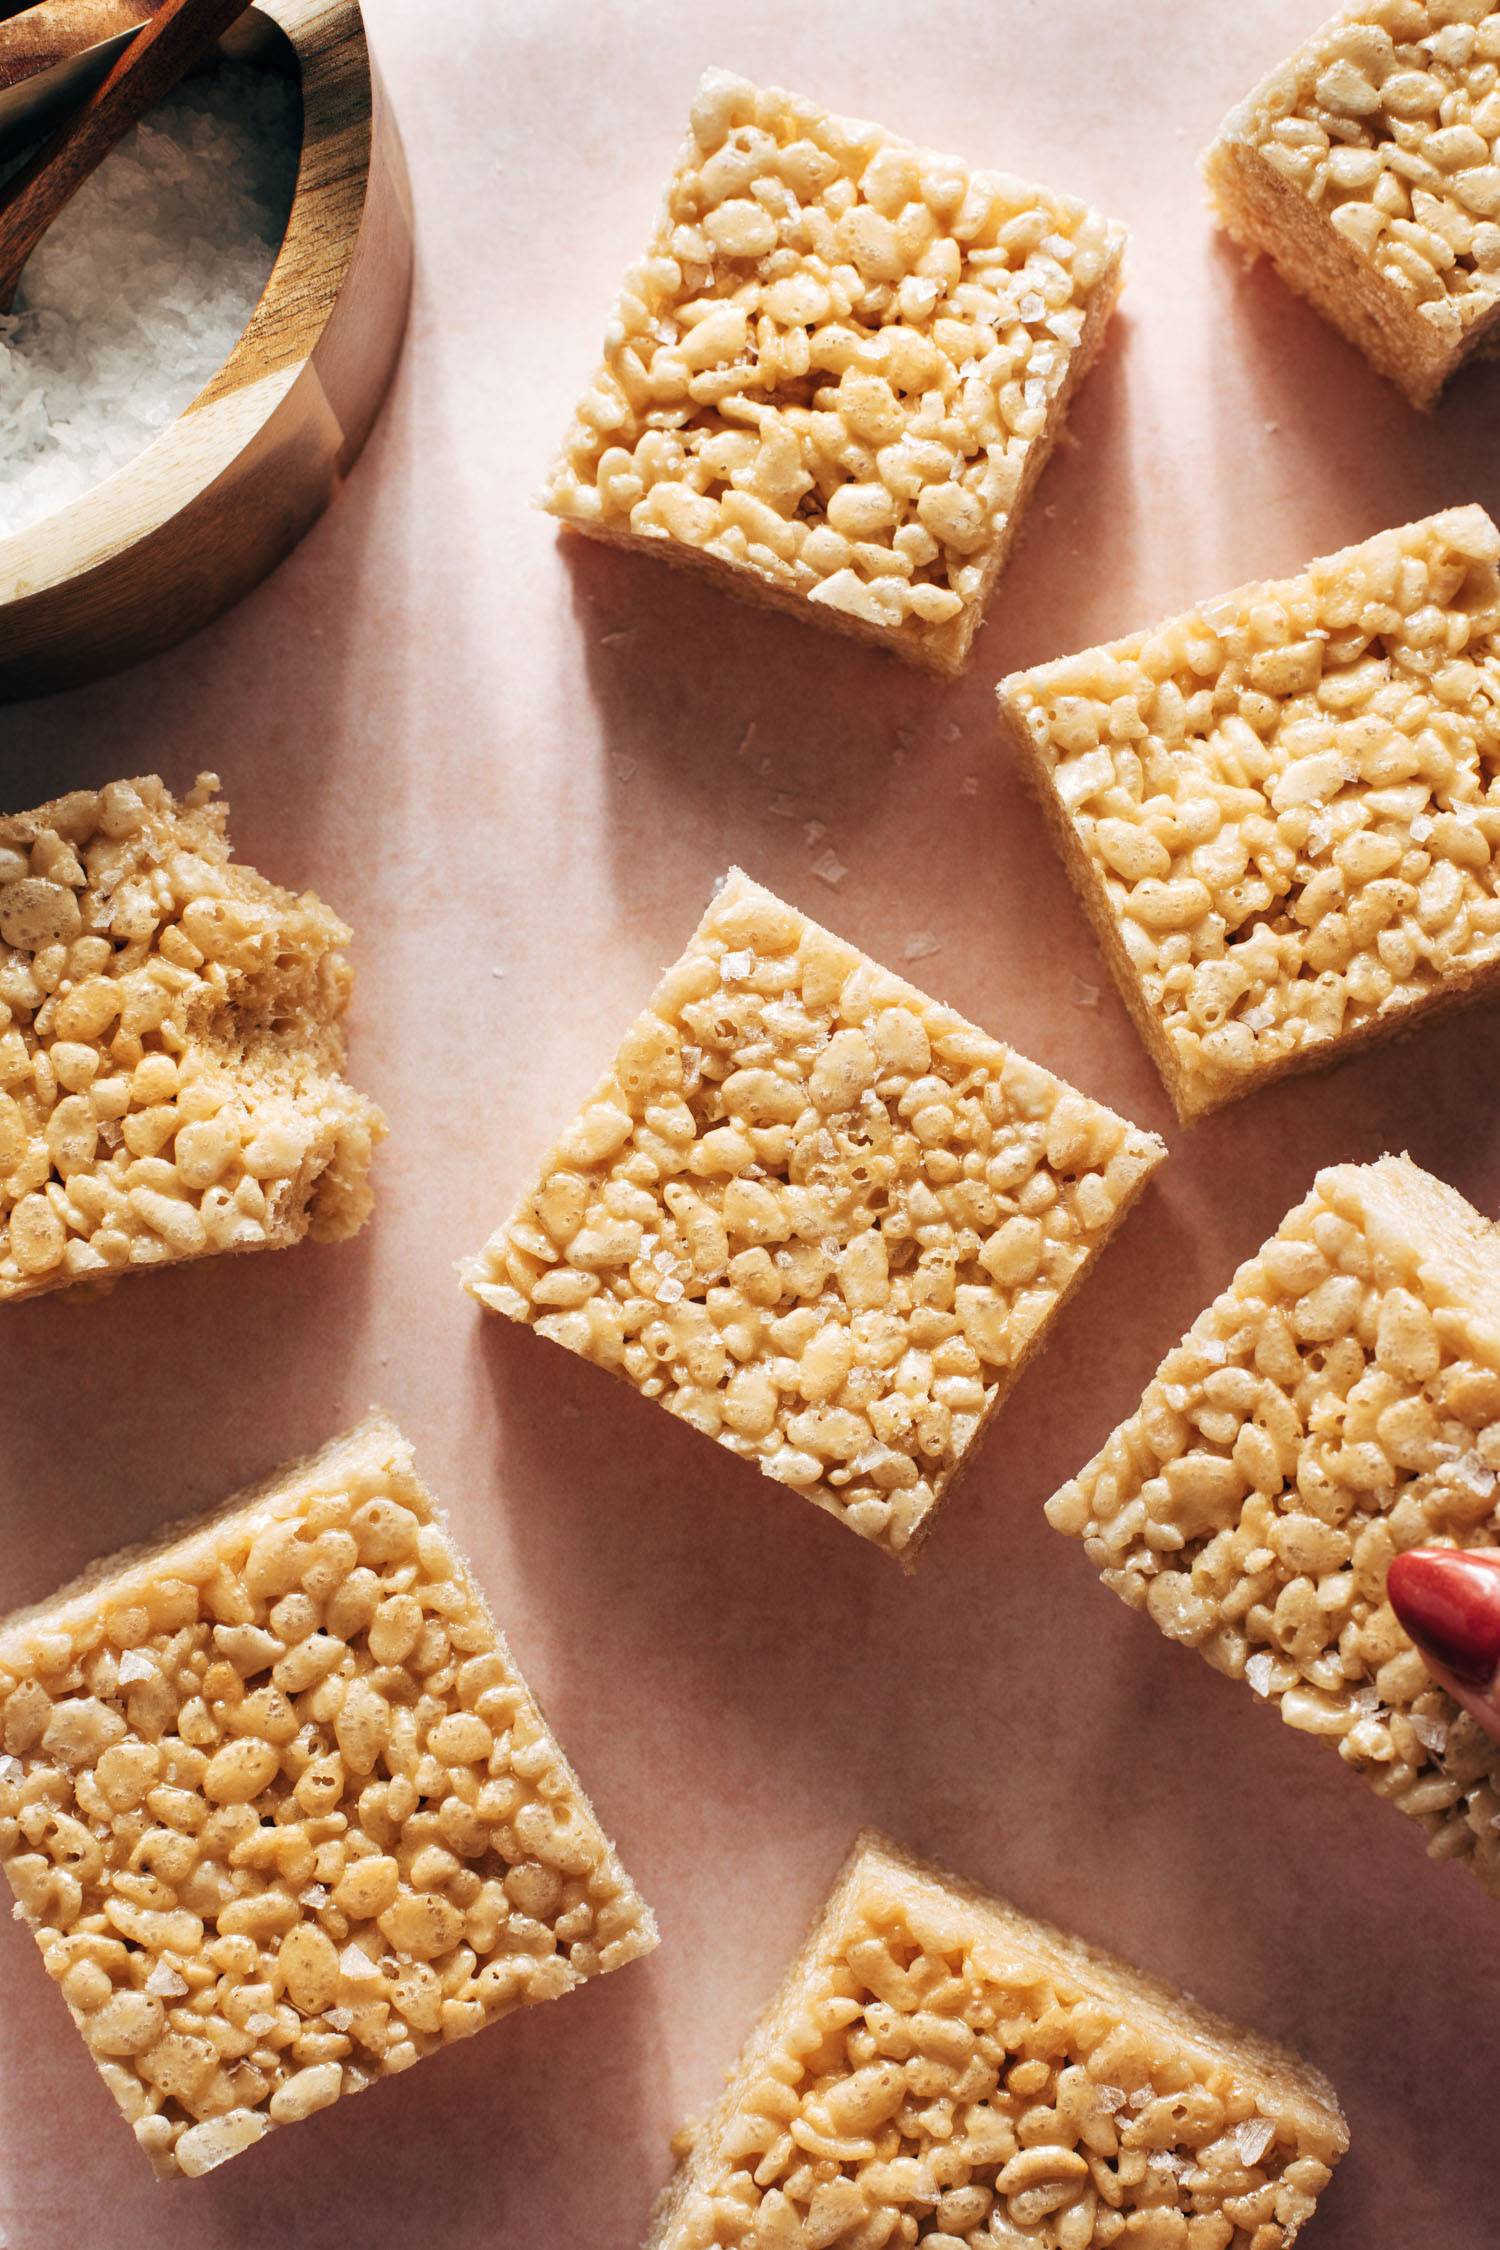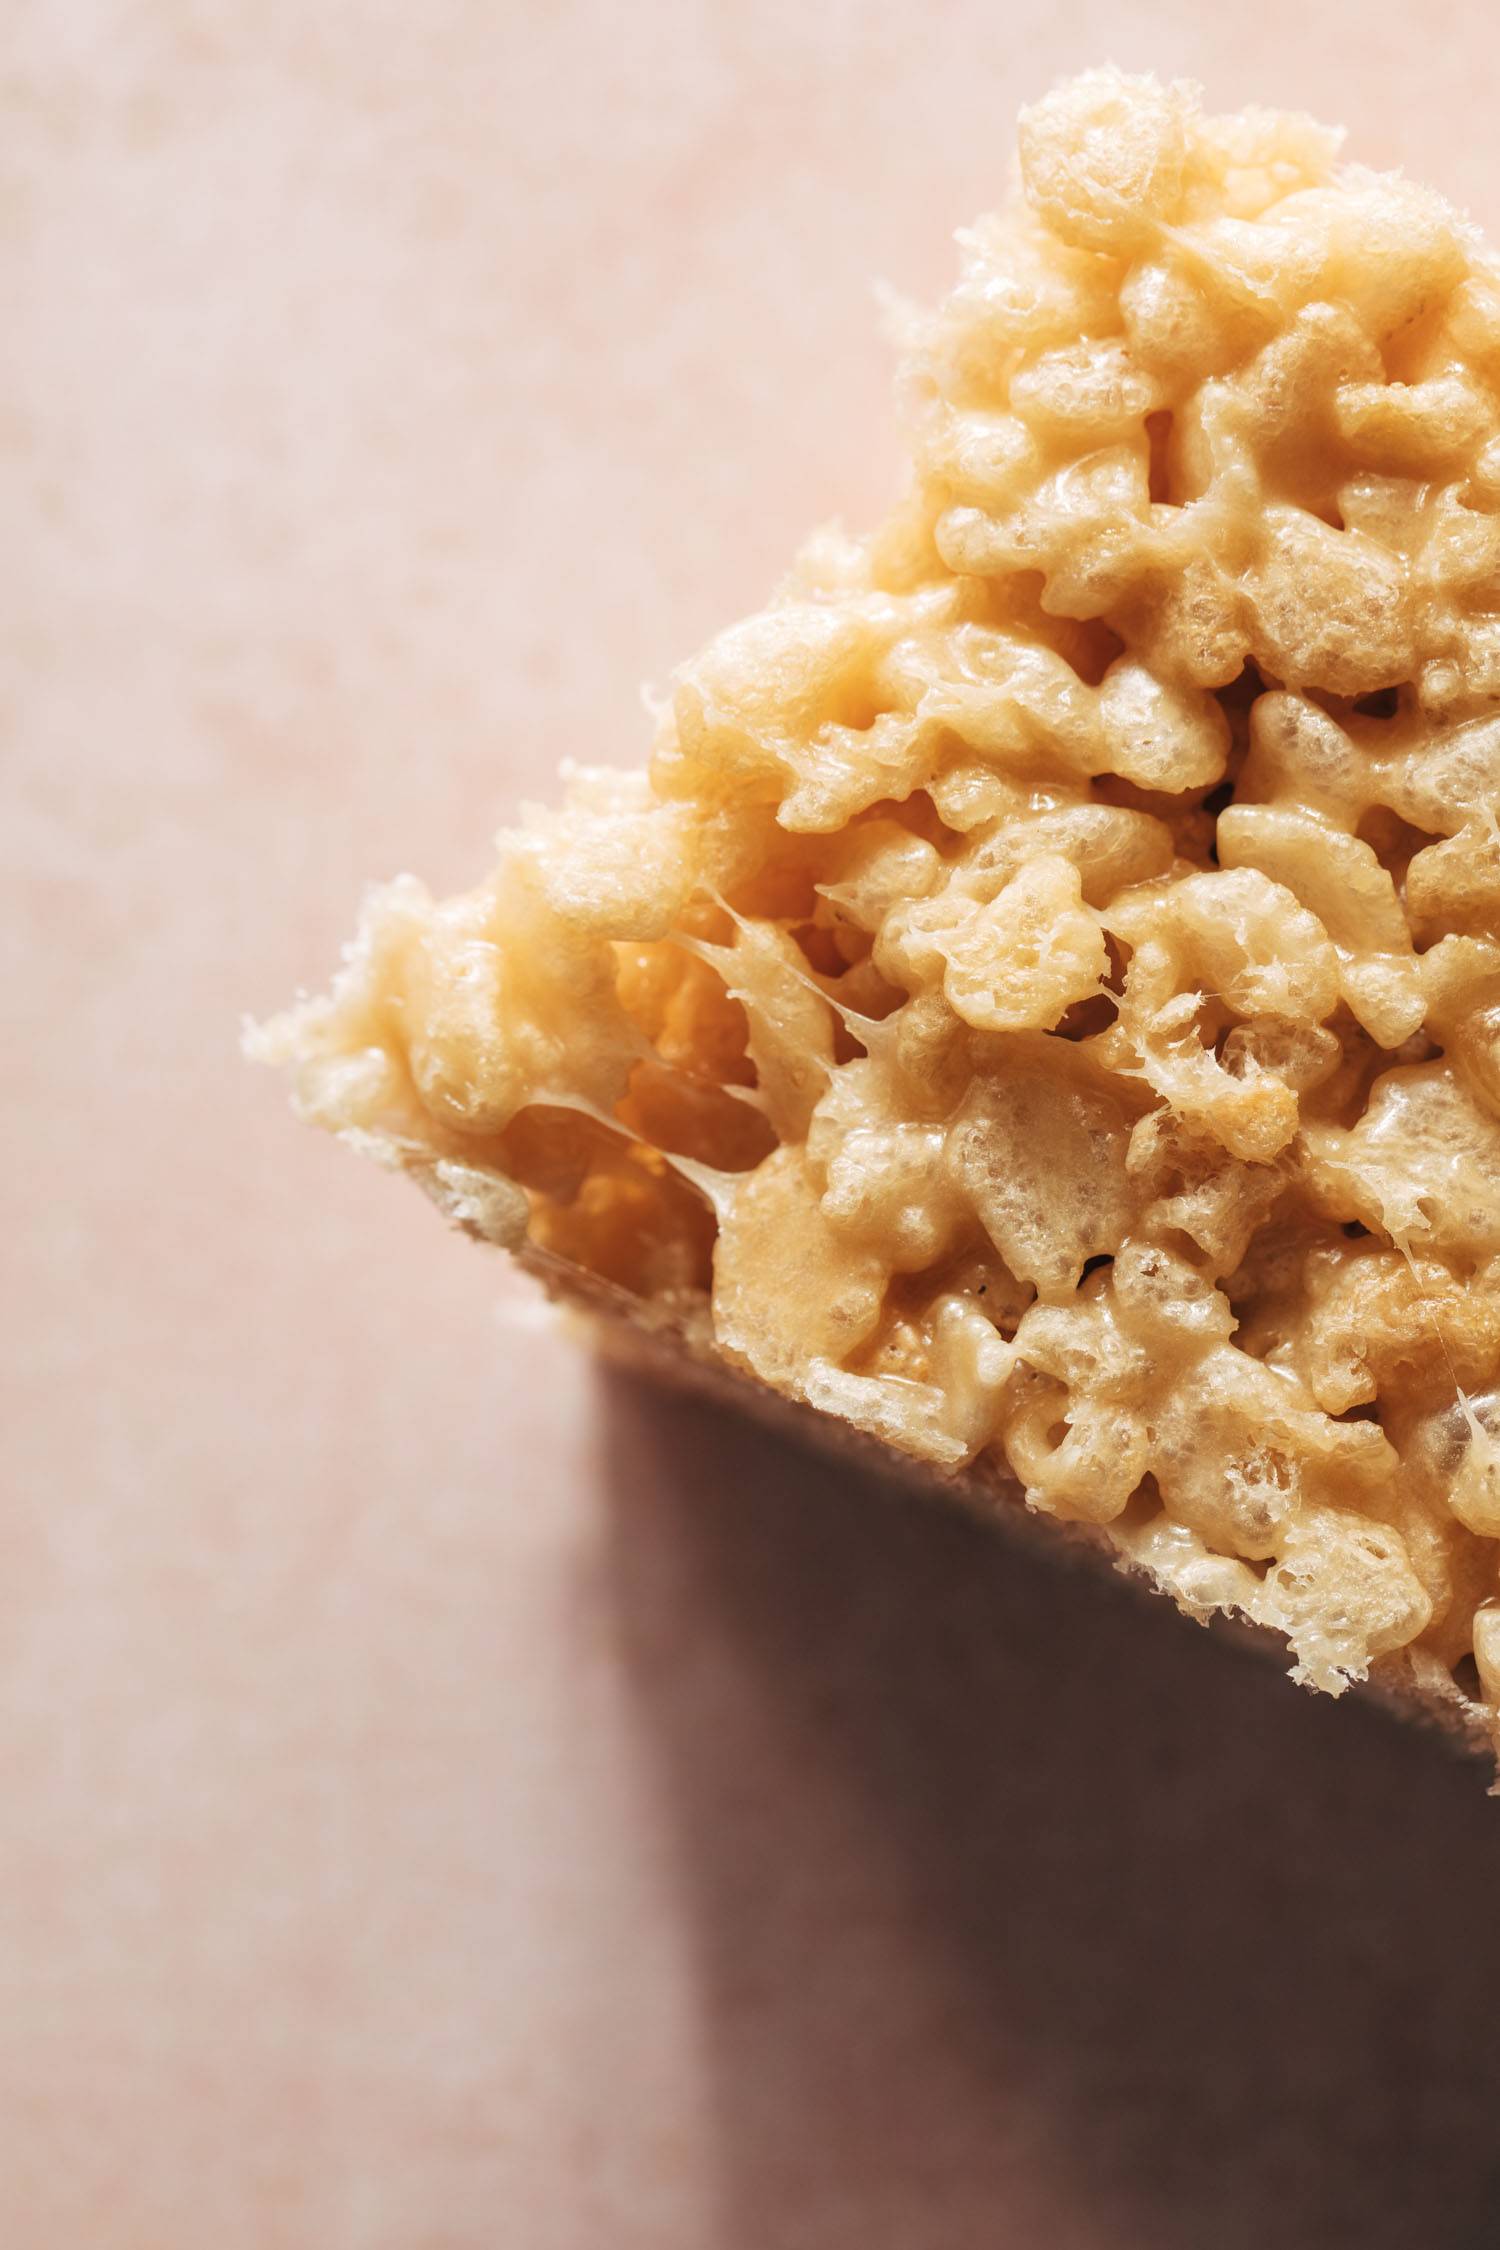
This is a classic case of “it doesn’t have to be fancy to be amazing.”
In This Post: Everything You Need For Salted Caramel Rice Krispie Bars
- How These Treats Came to Be
- These Bars are Extra and Everything
- Refrigerate These Rice Krispie Treats, Please
- Salted Caramel Rice Krispie Bars: Frequently Asked Questions
The Rice Krispie Bar Love Story
I REALLY ADORE these Rice Krispie Bars.
I’ve been making them for a long time, ever since my cousin’s wife Erica brought them to us years ago and I fell absolutely in love with them.
I bothered her for the recipe, as one does, and she sent me this recipe from All Recipes.
The adjustments I’ve made over the years have mostly to do with convenience: standard-size boxes and bags rather than the hard-to-find ones, light brown sugar instead of dark, and ditching the corn syrup, since you already have the sticky caramel to hold it all together.
And also because I’m known to be a fan of short ingredient lists.
These Salted Caramel Rice Krispie Bars Aren’t For Everyone
If you’re the kind of person who likes an understated dessert, you might need to look elsewhere.
These are butter-forward, sugar-forward, and salt-forward. These are not subtle. They are simple, but they are also big, very sweet and salty, obnoxiously extra, and so deliciously life-changing.
They remind me of the Extra Good Puppy Chow – like, you’ve probably already had puppy chow, but you haven’t had AMAZING puppy chow until you’ve basically doubled the butter and chocolate and stuck the whole thing in the freezer.
That’s what’s happening here. You’ve had a Rice Krispie Bar, but you have not lived until you’ve had THIS Rice Krispie Bar. Extra butter, extra gooey goodness in the form of a quick homemade salted caramel, and extra textural goodness from a pop into the fridge. DIAL IT UP.
I won’t judge if you’re a person who takes their treats a little more restrained. But for those of us who enjoy a massively caramelly, unapologetically salty-sweet bite of a classic RKB, this one will deliver.
Please Refrigerate These Rice Krispie Bars – Yes, I Said It
Rice Krispie Bars usually aren’t refrigerated, but here is my weird secret: I really enjoy these Rice Krispie Bars cold out of the fridge.
For regular Rice Krispie Bars, that would not work. They’d dry out in two seconds.
But in this case, we have twice the butter (yay!) so the cold treatment tightens up the buttery-mallow-salty-caramel mixture into something a bit more firm, but still very soft and chewable. So what you get is a tight, tender, chewy, sweet and salty crispy-crunch that is just so ultra-satisfying.
They are a 10 in all forms, so room temp will also work for you and be nice and soft. But just try refrigerating them for a texture boost. See if I’m crazy.

Salted Caramel Rice Krispie Bars: Frequently Asked Questions
You’ll want soft caramel for these bars. To achieve this, avoid boiling the caramel excessively. I’d recommend just keeping the caramel over low heat and heating it just enough to get it incorporated and slightly thickened.
Get yourself some Maldon Sea Salt Flakes – just so good! (affiliate link)
You can, but please try them in the fridge. They stay cold, crispy, buttery, and are still deliciously soft and chewy.

Salted Caramel Rice Krispie Bars
Total Time: 15 minutes
Yield: 12–16 jumbo bars 1x
Description
Salted Caramel Rice Krispie Bars! Perfectly chewy, crispy, caramelly, buttery, soft, and exactly as over-the-top as you need them to be.
Ingredients
Scale
- 1 cup unsalted butter
- 1 cup light brown sugar
- 1/2 cup heavy whipping cream
- 2 teaspoons flaky sea salt
- one 10-ounce package miniature marshmallows
- 12-ounce box of Rice Krispies or crispy rice cereal (about 12 cups)
Instructions
- Melt butter in a large pot over medium heat.
- Add sugar and whipping cream; stir to incorporate. It will take a minute, but as it heats, you’ll start to see a smooth, creamy caramel mixture form. Heat over medium-low heat for 5 minutes or so, until you have a caramel-like sauce that coats the back of a spoon.
- Remove from heat and stir in the salt.
- Add the marshmallows and stir until melted.
- Stir in the cereal. Press mixture into a 9×13 pan. You might have a little bit of extra that doesn’t fit in the pan – perfect for a little snack, if you ask me.
- Cool slightly, cut into squares, and enjoy! You can eat these at room temperature, but I also love them in the refrigerator! They stay excellently soft and chewy, and for some reason that cold, crispy, buttery texture is just really enjoyable.
Notes
You don’t want to boil the caramel mixture excessively, otherwise you’ll end up with firm caramel instead of soft caramel once the bars cool. I’d recommend just keeping the caramel over low heat and heating it just enough to get it incorporated and slightly thickened.
- Prep Time: 5 minutes
- Cook Time: 10 minutes
- Category: Dessert
- Method: No-Bake
- Cuisine: American
Keywords: rice krispie bars, salted caramel rice krispie bar, dessert bar
More Treats To Love
- Modern Scotcheroos (another take on the classic Rice Krispie Bar)
- Favorite Browned Butter Chocolate Chip Cookies (browned butter is next-level good)
- Old School Homemade Oreos (why are these so amazing??)
